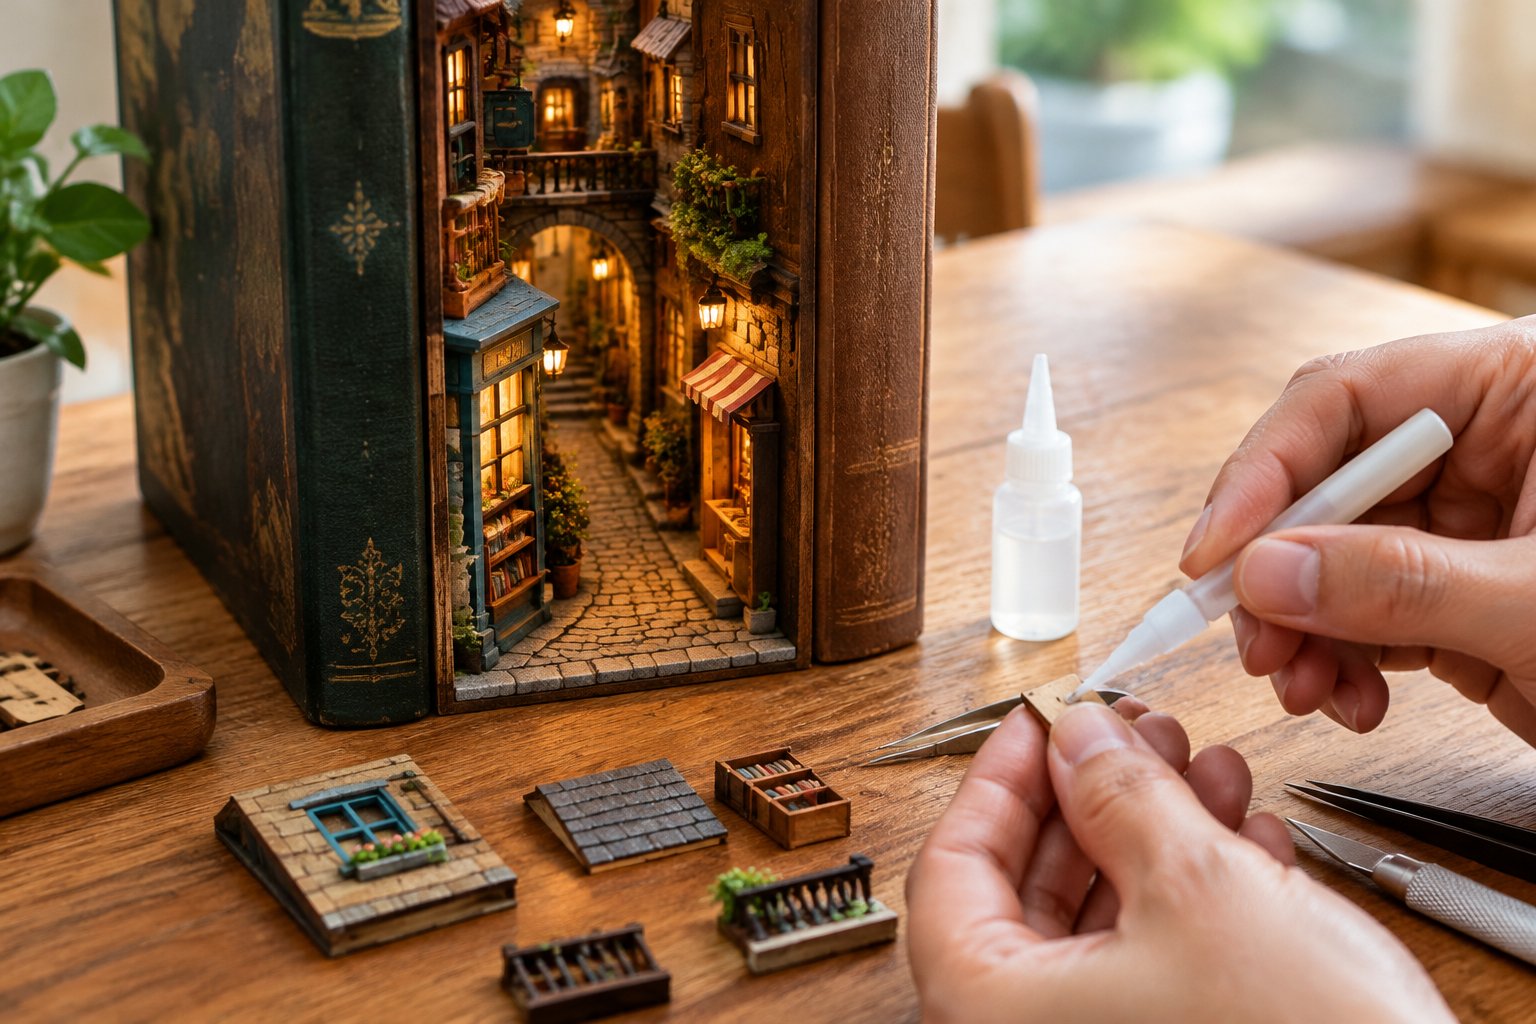
How to Display a Book Nook: Shelf Fit, Lighting, and Care
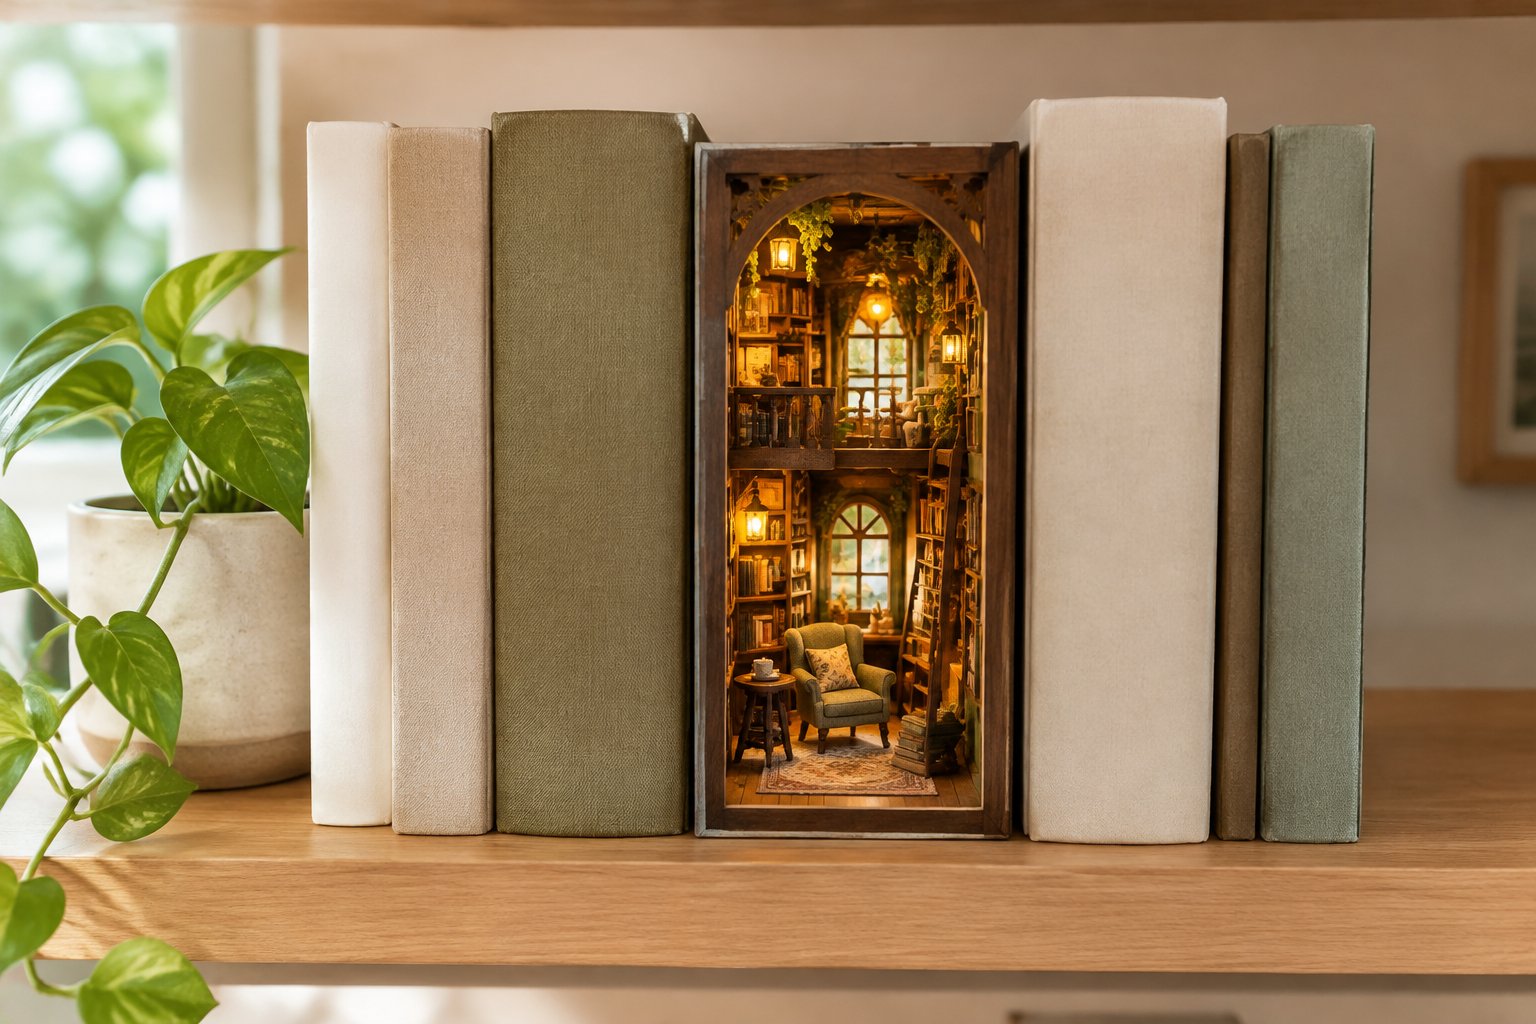
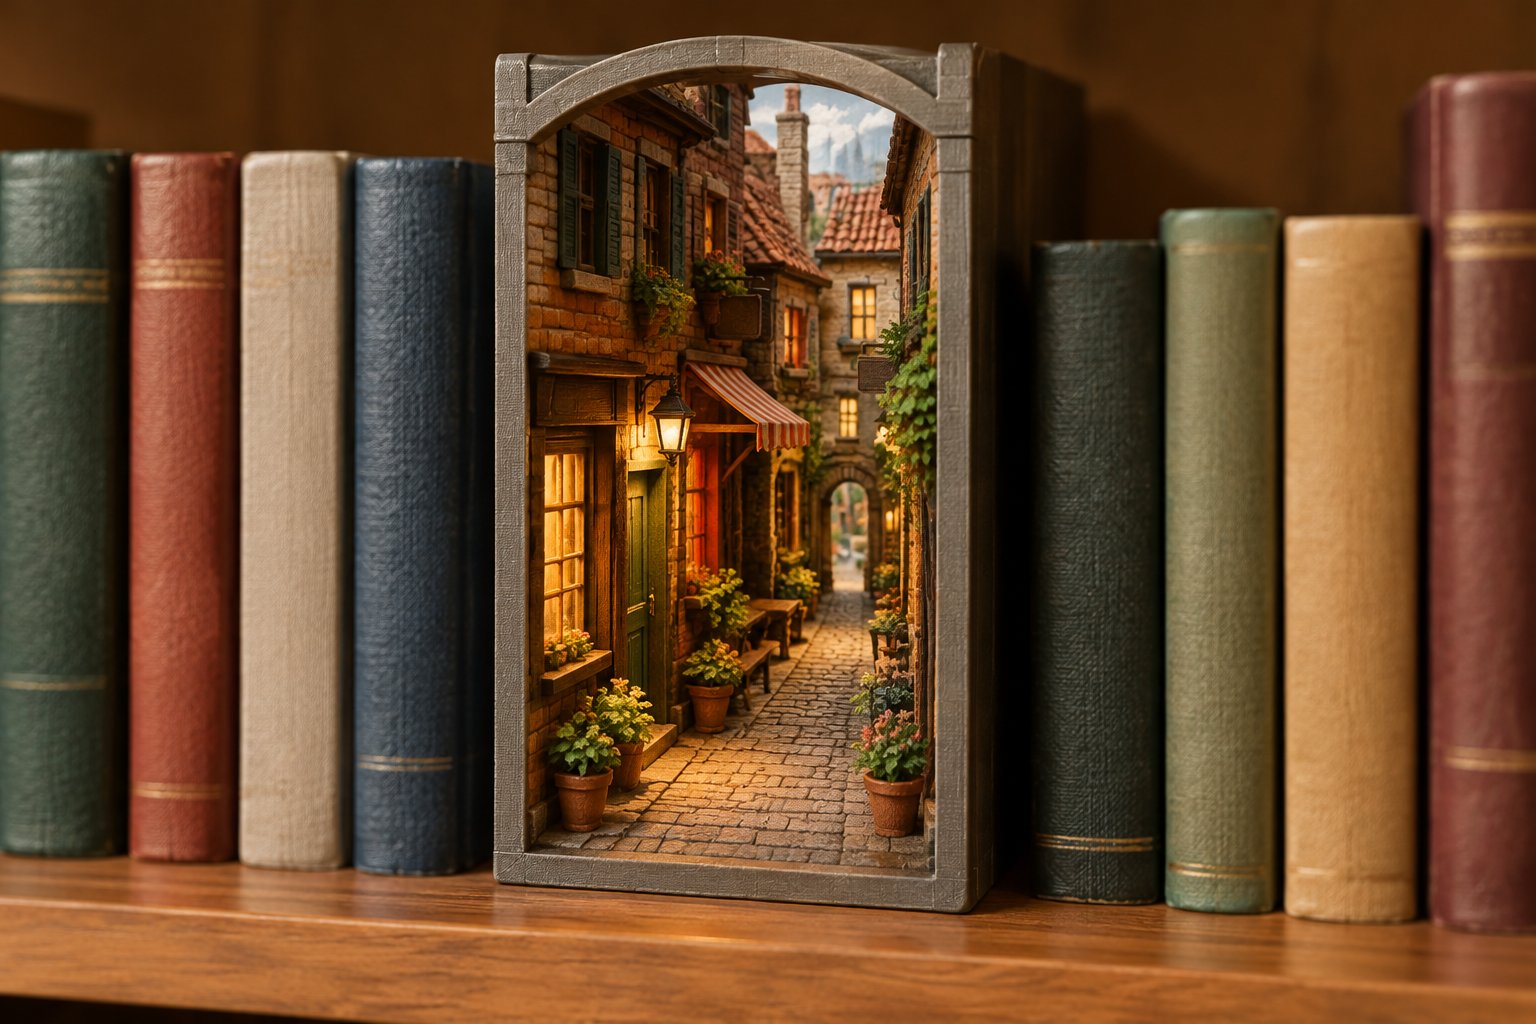
A finished book nook looks its best when it reads like one more volume on the shelf, until the glow pulls your eye into a tiny street or reading room tucked behind the spines. That effect comes from a few practical choices: how well the shelf supports the scene, where your eye lands when you look at it, and whether you can reach the switch without nudging anything delicate.
To display a book nook well, set it on a shelf that supports its entire base, place it close to eye level so the scene's depth shows, frame it loosely with books, and keep the light switch and battery compartment reachable. Styling comes after that. A narrow scene can slip into a shelf gap. A wide shopfront or a short shop can claim a desk or shelf end of its own.
If you are new to the hobby, what a book nook is covers the basics. If you want help matching a kit to a particular shelf, email [email protected] with the measurements and the builder's experience, and you'll hear back from a real person.
Will Your Book Nook Fit Safely Between Books?
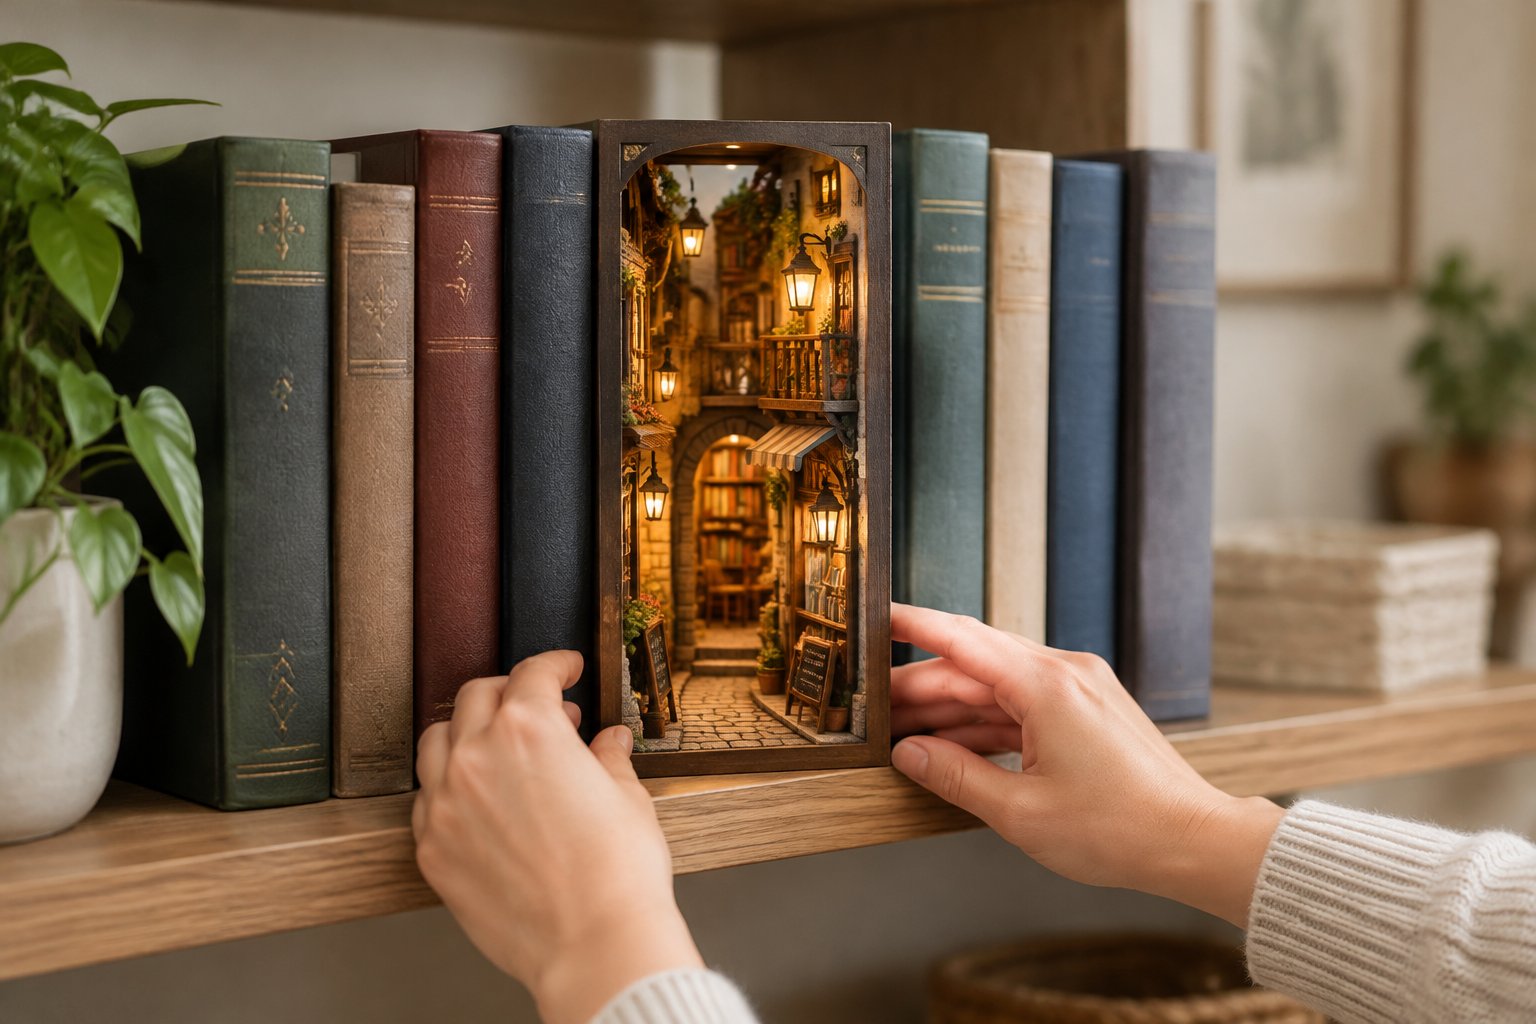
A book nook fits safely when the shelf opening clears its height, width, and depth with a little room to spare, and when the whole base sits flat on the shelf. Narrow scenes around 4.3 inches wide suit a gap between books. Wider or shorter designs do better on an open surface.
Measure the Shelf Opening and Support the Full Base
Take three measurements before you choose a spot:
- Clear height: from the shelf surface to the underside of the shelf above. People forget this one most often.
- Gap width: the space you can open up between books.
- Shelf depth: from the back wall or panel to the front edge.
Compare each number with the finished size of your exact model, not the box dimensions or a general idea of "book nook size." Then leave some working clearance. You want room above to slide the scene in without scraping the roof, plus a finger's width at whatever side holds the switch.
The base should rest fully on the shelf. A scene hanging off the front edge looks unfinished, and it tips more easily when someone brushes past. If your shelf is too shallow, move the build somewhere deeper. A small non-slip liner under the base helps on slick surfaces, but it won't fix a shelf that's too small.
Compare Finished Sizes Across Six Kits
The table below lists finished dimensions for six kits with published sizes, shown as height × width × depth. The dimensions come from the product listings. The placement column is my styling suggestion based on those numbers. These kits are sold by several online sellers, sometimes under different names, so search the kit name to compare prices.
| Kit | Finished size (H × W × D, inches) | Suggested placement |
|---|---|---|
| Magic Wand Store | 6.8 × 4.9 × 5.2 | Desk, side table, or lower shelf; shorter than many hardcovers |
| Magic Academy | 9.3 × 4.3 × 7.1 | Between books on a shelf with at least 9.3 inches of clear height |
| Tarot Divination Society | 9.1 × 4.3 × 7.1 | Between books; keep the side with the switch reachable |
| The Alley Waiting for the Cat | 9.1 × 4.3 × 7.1 | Between books; the narrow footprint suits a classic shelf gap |
| Notting Hill Bookstore | 8.0 × 9.4 × 7.0 | Shelf end, desk, or mantel, facing outward like a shopfront |
| Hall of Eternity | 9.7 × 5.7 × 8.3 | Bookend position or standalone display; needs a deeper shelf |
The three narrow designs share a 4.3-inch width and 7.1-inch depth. That makes the Magic Academy book nook kit, Tarot Divination Society, and The Alley Waiting for the Cat the easiest to tuck between books on a standard shelf, provided the clear height tops 9.1 to 9.3 inches.
The Notting Hill Bookstore kit is a different shape entirely. At 9.4 inches wide, it reads as a full shopfront and needs open space so the window and shelf rows stay visible. Hall of Eternity's 8.3-inch depth is the deepest in the group, so measure carefully before putting it on a shallow bookcase.
Each scene also needs room to open its battery compartment and reach its switch. A dimensions table can't confirm that clearance. Check the listing and the manual for your specific model before committing to a tight gap.
Find the Viewing Height That Preserves the Scene's Depth
Eye level shows a book nook best. From there, you look straight down the alley or into the room and can see the background layers, the lit windows, and the small objects placed toward the back.
Up high, you mostly see the ceiling and the front edge. Down low, you look up at roof beams and miss the floor details. For standing viewers, a shelf at roughly chest to eye height works. Next to a sofa or reading chair, seated eye level is the spot to aim for.
Check the placement from where you usually stand or sit before you settle on it. A scene that looks right while you're kneeling at the bookcase can lose its depth from across the room.
Frame the Opening with Books Without Squeezing the Panels
The books on either side should frame the nook, never clamp it. Leave a small gap, or let the books touch lightly, so the side panels carry no pressure. Heavy hardcovers leaning against thin plywood can push glued joints out of line over time.
Choose neighbors close to the nook's height so the top line of the shelf stays even. Line up the front edge of the nook with the book spines for a tidy look. If the switch sits on one side, put the shorter or more easily moved books there.
Some builders use a nook as a bookend. Don't assume every model can take that load; light paperbacks are a safer test than a row of leaning hardcovers.
Where Else Can You Showcase Your Miniature Scene?
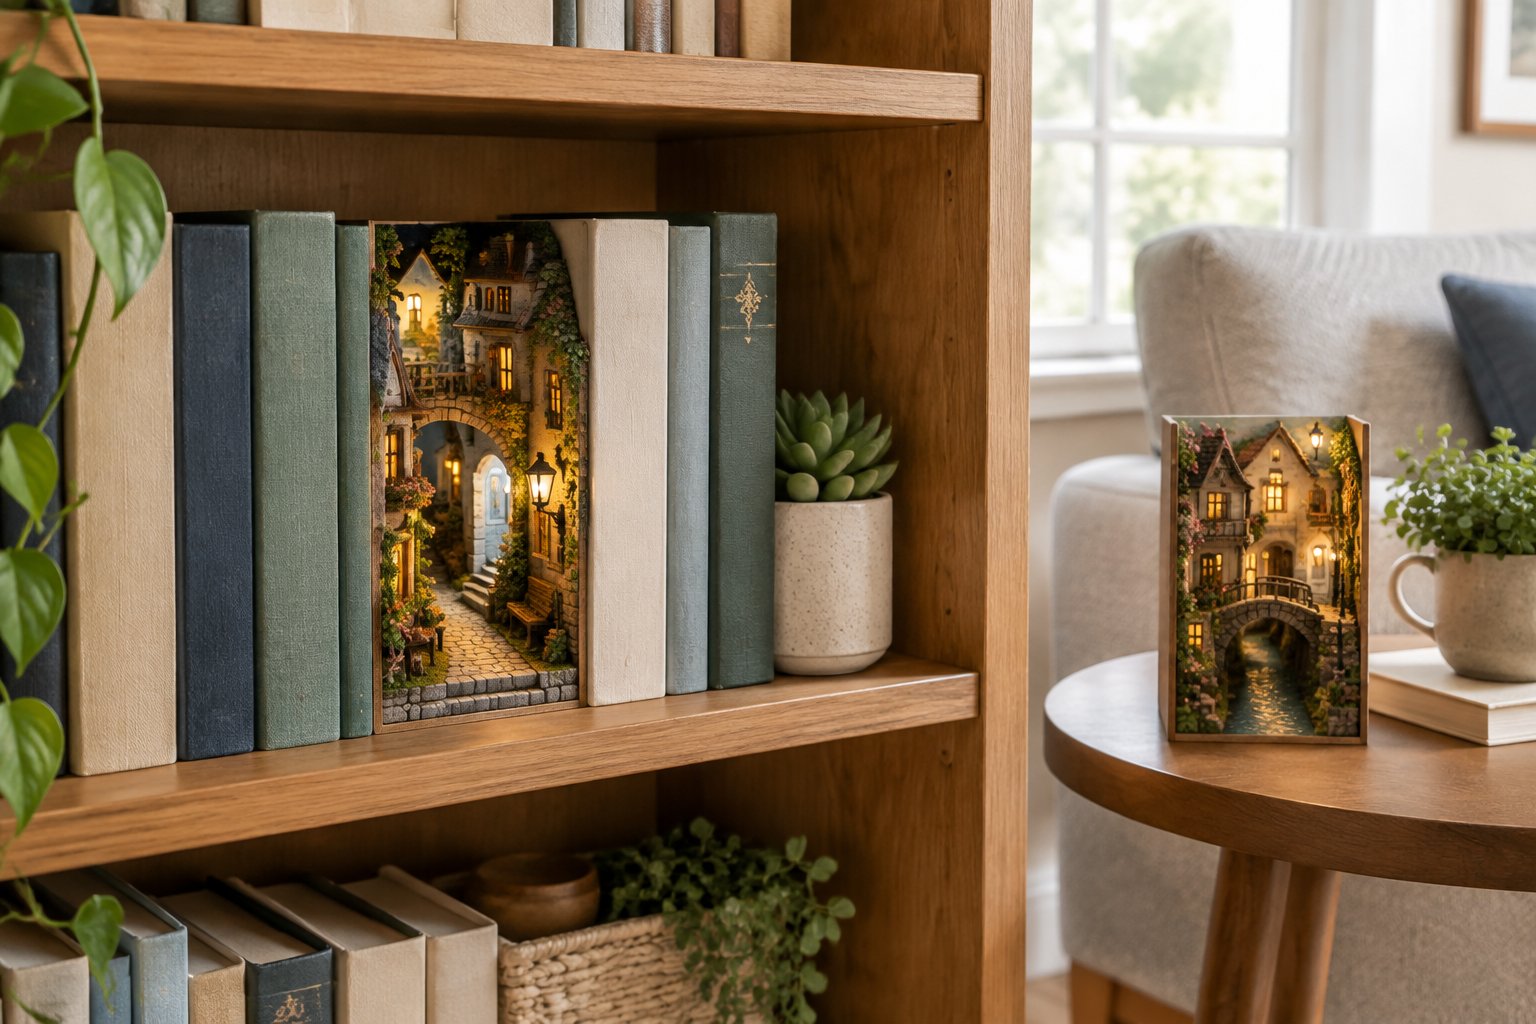
Desks, shelf ends, side tables, and mantels all work for a finished scene, as long as the surface is level, dry, and deep enough for the whole base. Open placements also show off side details that a shelf gap would hide.
Choose a Desk or Shelf End for Compact and Wide Designs
Two kinds of builds benefit most from leaving the shelf gap behind: the very short and the very wide.
The Magic Wand Store stands 6.8 inches tall, shorter than many hardcovers. Between tall books it can look sunken. On a desk or a lower shelf, its crooked shopfront and tiny jars sit closer to your eye.
Notting Hill's 9.4-inch width calls for a shelf end, mantel, or desk corner where it can face the room. A shelf end also makes the switch easy to reach. A single bookend beside the nook holds the book row steady without pressing on the panels.
On a desk, keep the build clear of where drinks, bags, and elbows land. Back corners are safer than front edges.
Add a Focal Point Beside Your Reading Chair
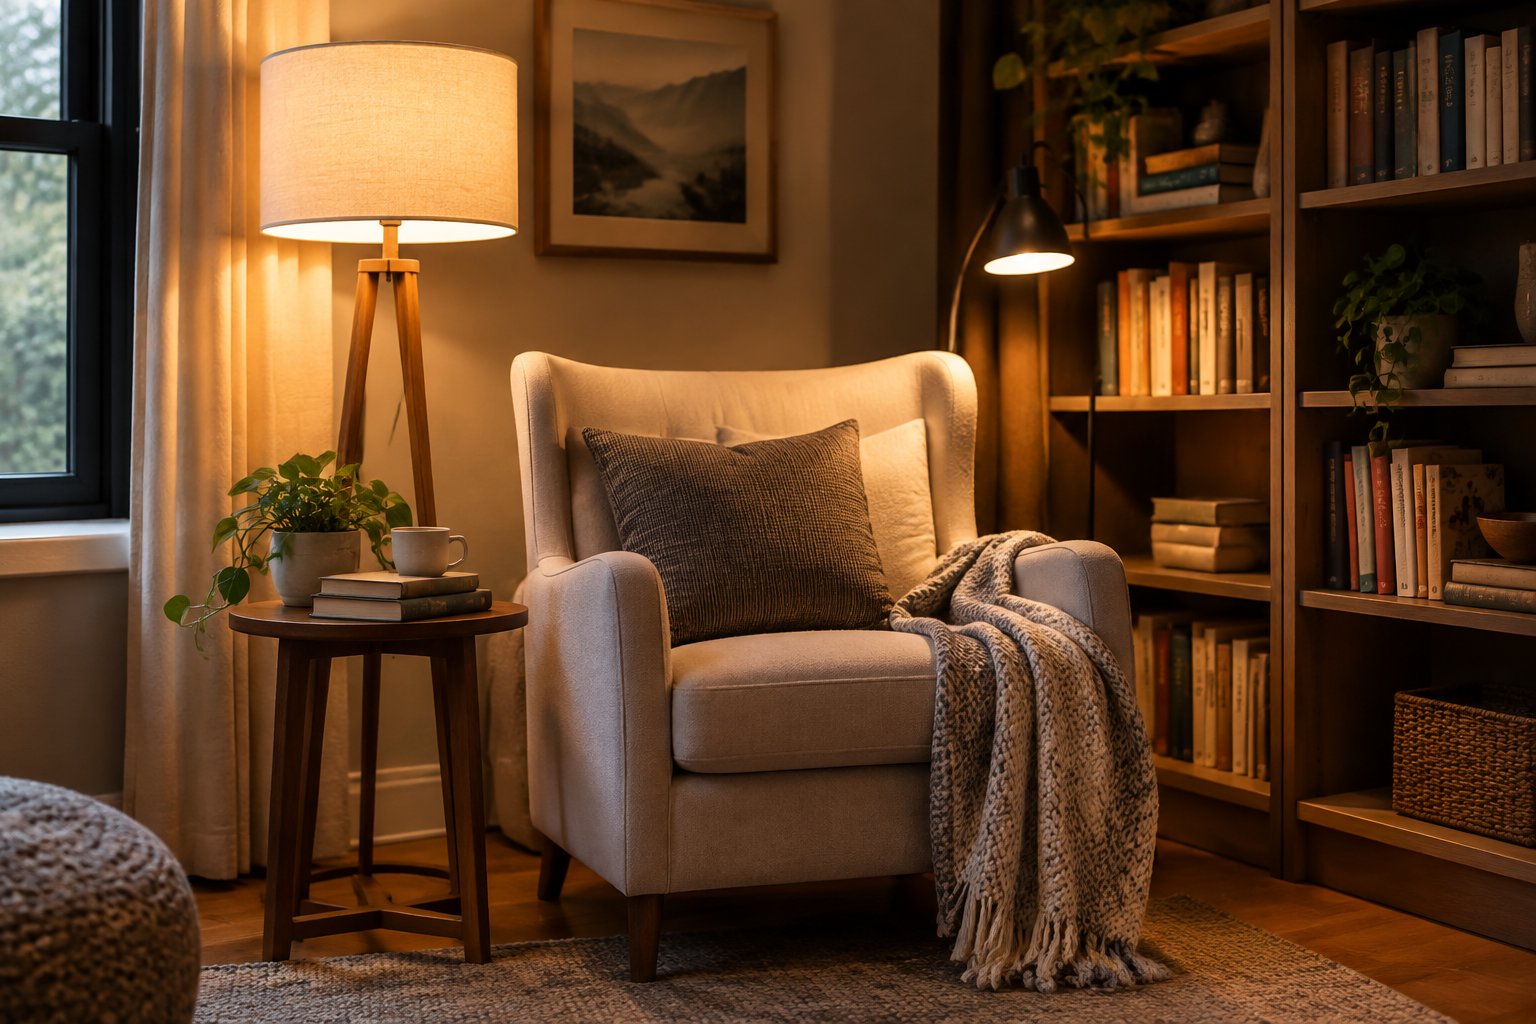
A side table or low shelf next to a reading chair puts the scene at seated eye level, the angle where you can see the most depth. It also suits the cozier designs. A stone cottage with a hearth glow or a lantern-lit Japanese back street pairs naturally with a lamp and a blanket.
A few practical points help this setup:
- Place the nook on the side away from your drink.
- Keep candles well clear of wood and paper.
- Angle the lit face toward the chair so the glow is visible while you read.
- Make sure the switch faces you, so you don't have to turn the build around each evening.
Arrange Multiple Scenes with Books and Breathing Room
Several nooks on one shelf look intentional when each has space around it. Put a few books, or a gap a few inches wide, between scenes so each silhouette reads clearly and your hands have a safe path in for cleaning and switching lights on.
Grouping by theme helps a collection feel planned. A row of bookshops and libraries sits well together, and so does a shelf of fantasy scenes. If you're still building that collection, my best book nook kits for adults guide is a place to start, and checking each kit's finished dimensions lets you plan the shelf before buying.
When a shelf starts to feel crowded, take one object away before adding another. Each miniature is already full of detail.
How Can You Make the Lighting Look Its Best?
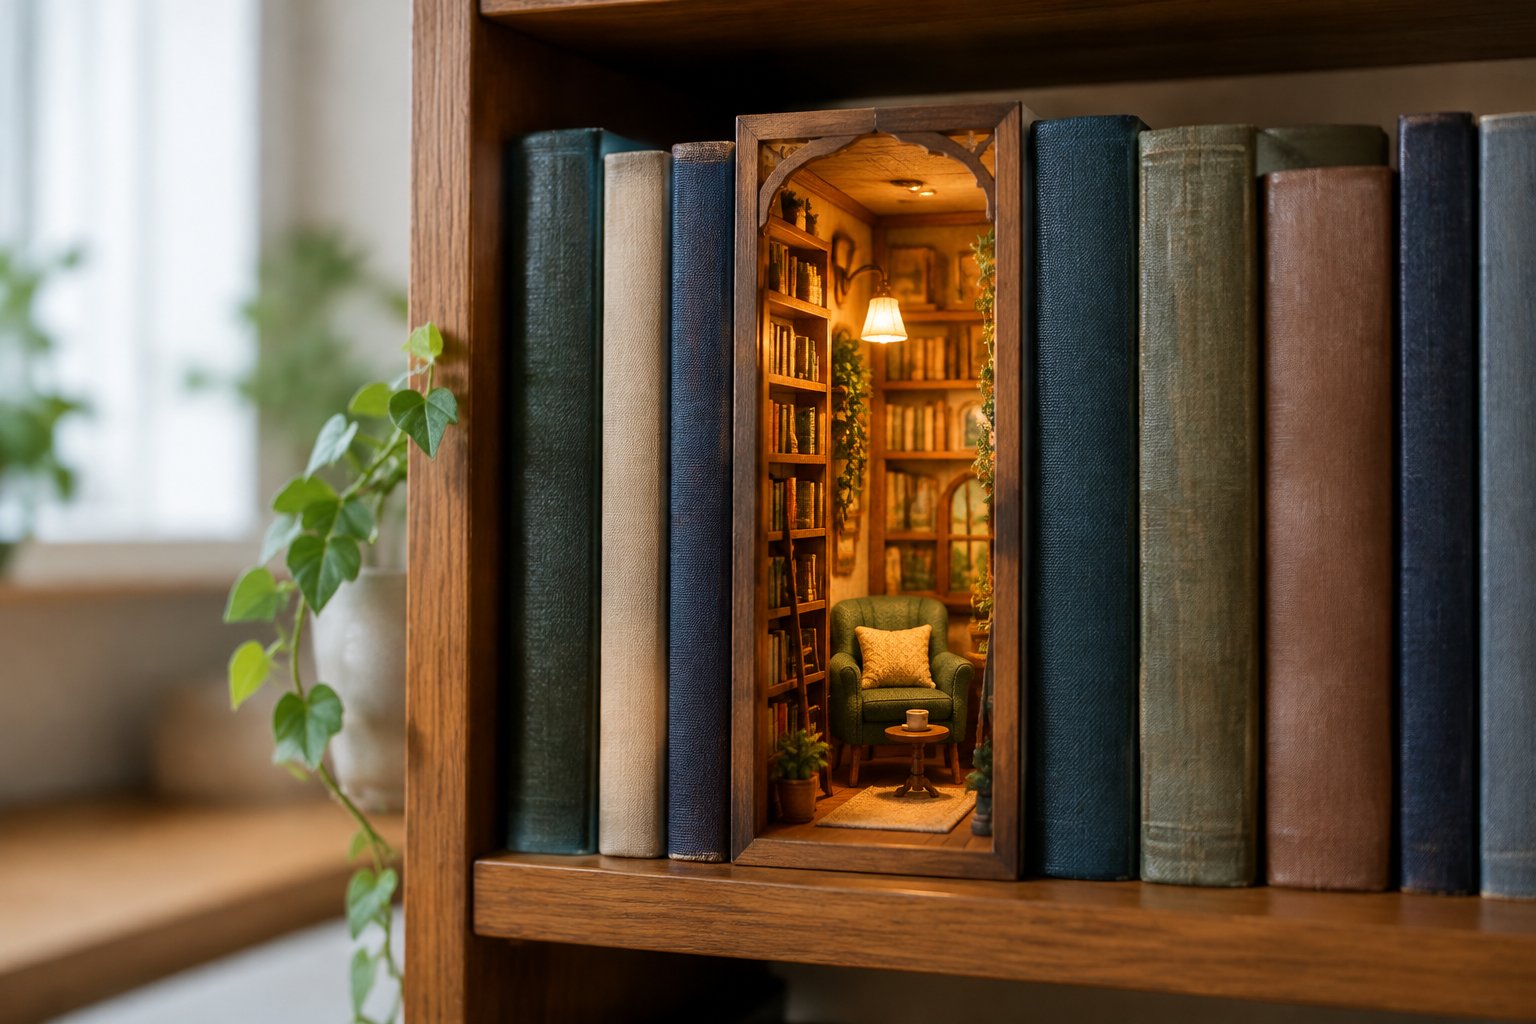
Built-in LEDs look best when the nook is the brightest thing nearby, so view it in a dim room with a low lamp on, and place it where you'll pass in the evening. Set up the display so you can reach the controls and see the scene without a glare across the front.
Balance Built-In LEDs with the Room's Ambient Light
Small LEDs get washed out by daylight and overhead lights. Test your book nook display twice: once in daylight and once at dusk with only a lamp on. Most scenes come alive in the second setting.
A pale wall or light books behind and beside the nook reflect a little warmth back. A dark shelf absorbs the spill and makes the scene look smaller. If the glow seems weak, try dimming the room before you blame the LEDs.
Fire and lantern effects benefit most from a darker room. A flickering hearth and the green-and-warm mix in Tarot Divination Society show their contrast best in low light.
Keep Switches and Battery Compartments Accessible
Plan your display so you can turn the lights on without pulling the nook toward you or reaching past fragile parts. Locate the switch before you choose a spot:
- Side switches: place the nook at a shelf end, or put easily moved books on that side.
- Back or base compartments: leave enough depth to tilt or slide the build forward gently.
- Touch switches: Hall of Eternity hides its touch-switch light in the hieroglyph panel, so keep that panel uncovered.
Battery types differ between kits. Baker Street and the Plaza de los Muertos kit use AA batteries, while Tarot Divination Society takes two AAA batteries. Check your own listing. Batteries and glue usually aren't included, so have the right ones on hand before display day.
Check Front-Panel Reflections and Turn Lights Off After Viewing
Clear front panels pick up reflections from windows and ceiling lights. Stand where you normally view the nook and look for bright streaks across the scene. Turning the build a few degrees, or moving a nearby lamp lower and to the side, often clears it.
Some panels change how the scene reads. Buyers note that the Magic Academy front panel looks slightly frosted, and some feel the finished scene looks better without it. Whether you keep it is your call, though the panel does help keep dust out.
Switch the lights off when you're done looking. Batteries last longer, and you spend less time opening the compartment near delicate parts.
How Do You Protect the Display from Dust and Damage?
Protection comes down to four habits: cover the scene against dust, keep it away from sun, heat, and damp, clean it with dry tools, and lift it only by the base. A finished miniature kit is mostly wood, card, and paper held together with glue, so gentle handling counts for a lot.
Choose a Clear Cover or Cabinet with Enough Internal Clearance
Kits rarely include a display case, so a cover is usually a separate purchase. Size it from the finished dimensions in the table above, then add room for:
- lifting the cover on and off without catching roofs, signs, or lanterns
- reaching the switch and battery compartment, or lifting the cover easily to get to them
- any protruding parts that extend past the listed width or depth
A glass cabinet holds several scenes and blocks most dust. It also adds reflections, so run the same glare check you'd use on a front panel. For a single narrow scene on an open shelf, a clear acrylic cover sized for a 4.3 × 7.1-inch footprint keeps the shelf look while cutting down on dusting.
Keep Wood and Paper Away from Sunlight, Heat, and Moisture
Direct sun fades printed paper and painted details, and it can warp thin wood. Keep displays away from sunny windows, radiators, fireplaces, and heat-producing electronics. If a nook sits near a bright window, close the blinds during the sunniest hours or move it to an inside wall.
Damp air is the other risk. Bathrooms, unheated basements, and shelves next to humidifiers swell wood and soften card. A steady room temperature is best for glued joints.
Clean Delicate Details with a Soft Brush and Hand Blower
Dry cleaning is the safe method. Use a soft makeup or paintbrush to sweep dust off rooftops and shelves, then a rubber hand blower to puff it out of corners. Light dusting every few weeks stops buildup from settling into tiny details.
Avoid liquid cleaners on the scene itself. For an acrylic front panel, use a dry microfiber cloth first, and skip household glass cleaner, which can cloud some plastics. Repetitive detail scenes like the Wonder Library, with rows of miniature books, benefit from a brush with fine bristles that reach between shelves.
If a small piece shifts while you clean, nudge it back with tweezers. If one breaks or goes missing, contact the seller with the order number, kit name, and part number from the instruction booklet.
Move the Finished Build by Its Base, Not Its Decorative Parts
Lift a book nook with both hands under the base or around the main box. Lanterns, signs, rooftops, and the Wheel of Fate on Tarot Divination Society are glued details and won't take your weight.
Before moving, switch off the lights, clear a padded landing spot, and take out any loose items you've added. Wooden kits are glued projects and aren't designed to be taken apart and rebuilt, so slow, supported moves keep joints intact.
Give Your Tiny World a Stable, Well-Lit Home
A good book nook display starts with fit. Measure clear height, gap width, and depth, and make sure the whole base rests on the shelf. Narrow 4.3-inch designs suit a gap between books. A 9.4-inch shopfront or a 6.8-inch-tall wand shop does better on a shelf end, desk, or side table.
Set the scene near the eye level of whoever views it most, standing or seated. Frame it loosely with books of similar height, and keep the switch side easy to reach. Test the glow in a dim room, check the front panel for glare, and switch the LEDs off after viewing.
For long-term care, size any cover from the finished dimensions plus clearance, keep the nook away from sun and damp, dust with dry tools, and lift only by the base. If you're choosing a kit, compare the finished size on each listing with your shelf measurements before you order. And remember that glue and the correct batteries need to be bought separately.
Frequently Asked Questions
Can I display a book nook without a bookshelf?
Yes. A desk, side table, mantel, or deep floating shelf works as long as the surface is level, dry, and supports the full base. A bookend on one or both sides gives a standalone scene a finished look.
Can a book nook hold books upright like a bookend?
Some can take light support, but don't assume every model is built for it. Leaning heavy hardcovers against thin side panels can stress glued joints, so use a real bookend for heavy rows and let the nook stand beside it.
Does a book nook need a glass dome or display case?
No, but a cover cuts down on dusting in open or dusty rooms. Size it from the finished dimensions plus room to lift it off, and make sure you can still reach the switch and batteries.
How many book nooks can I put on one shelf?
As many as fit with breathing room between them. Leave a few books or a few inches between scenes so each one reads clearly and you can reach in to dust or switch lights on safely.
Should I remove the batteries before storing a book nook?
Removing batteries before long storage lowers the risk of leakage onto wiring and wood. Follow the manual for your specific bookshelf insert, and never mix battery types.