Book Nook Lighting: Setup, Hidden Wires, and Easy Fixes
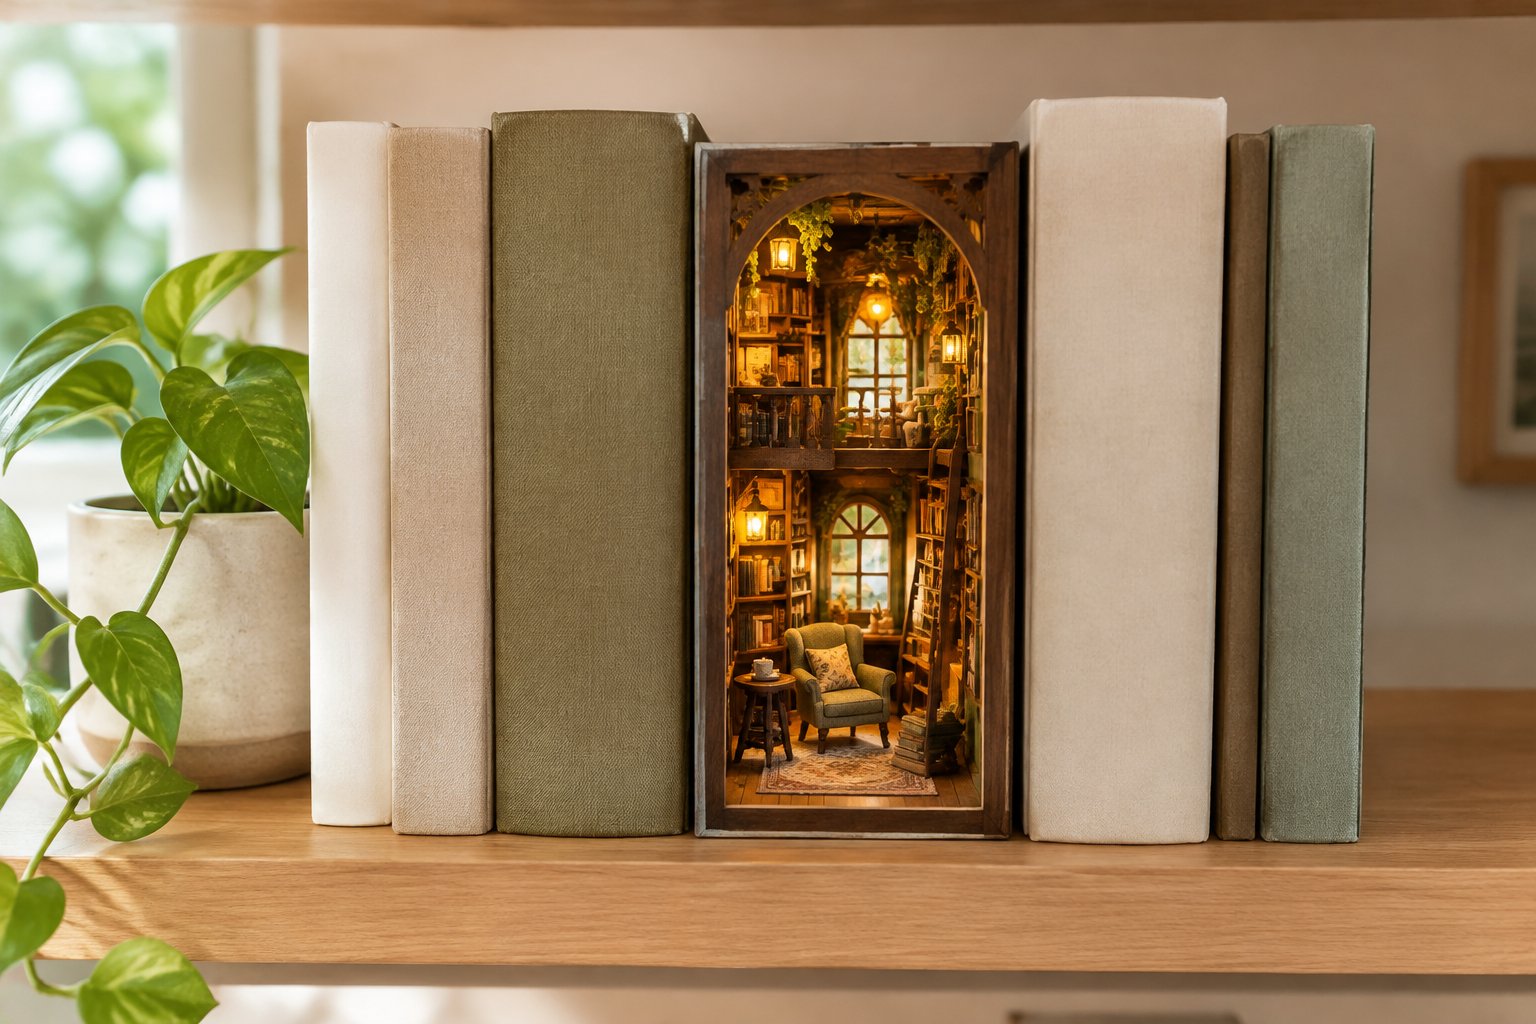
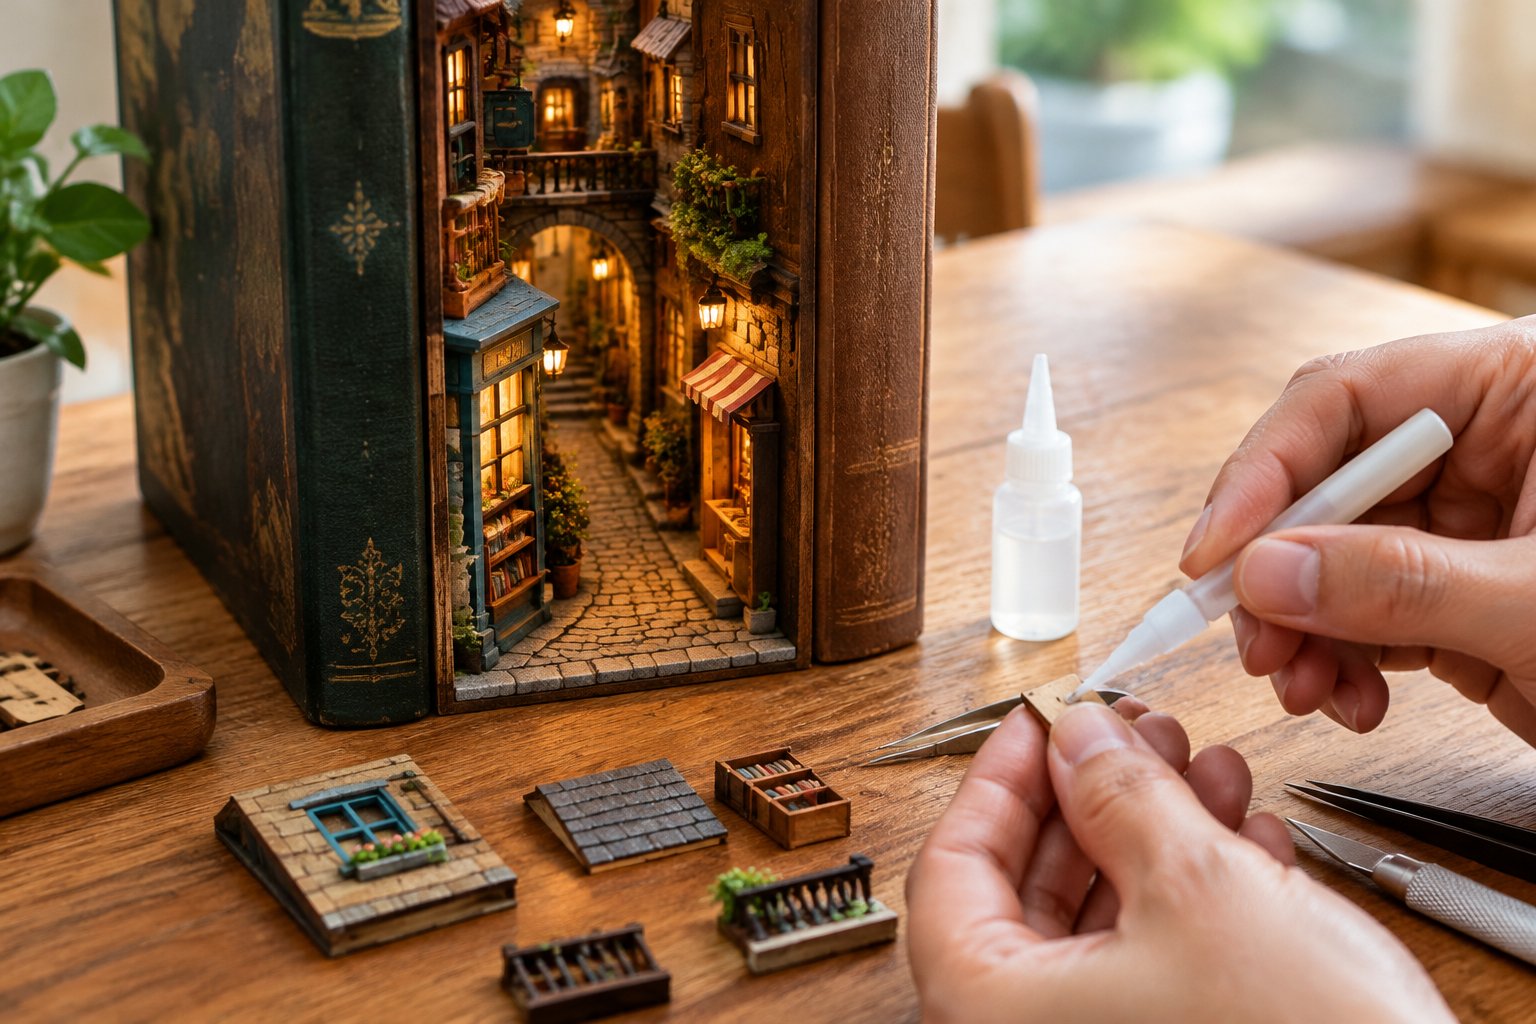
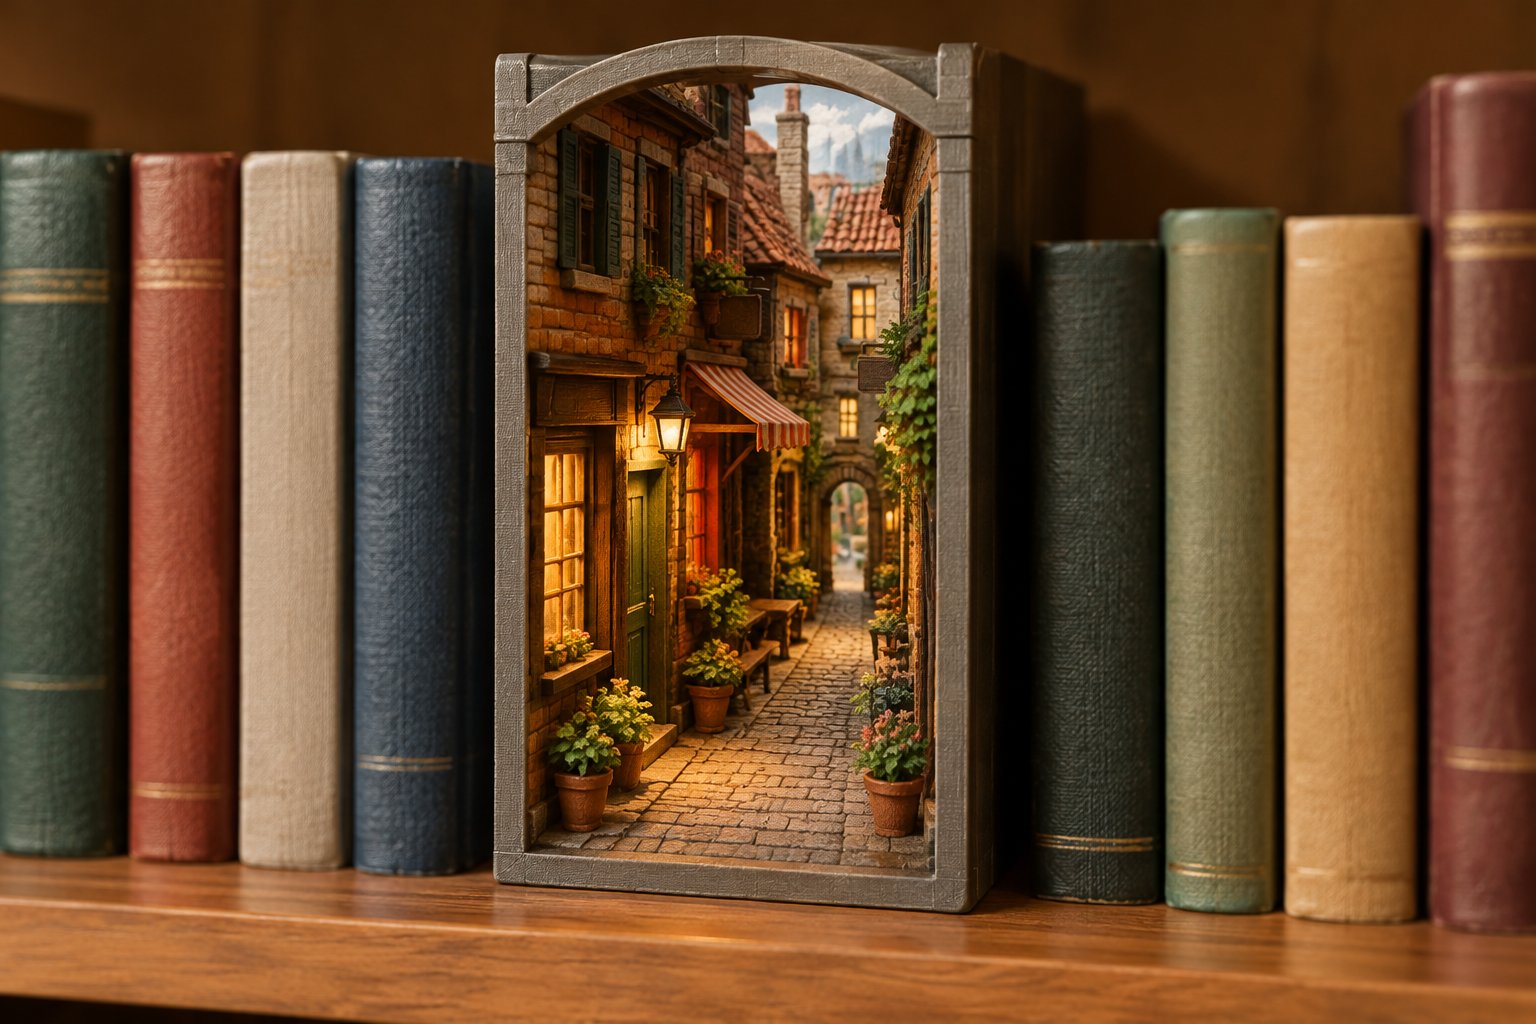
The first time a finished book nook lights up on the shelf, the whole miniature world changes. Windows that looked flat in daylight start to glow, a lantern throws a small pool of warmth across cobblestones, and the scene gains a depth that box photos rarely capture. Getting there takes a bit of planning, because the lighting step usually happens while walls are still open and pieces are still loose.
The most reliable approach to book nook lighting is a four-step habit: test the supplied lights before assembly, plan where the wires will run, secure them gently as you build, and retest before the roof goes on, while keeping the battery box reachable. That workflow follows your kit's manual and prevents most problems builders struggle with. A light that fails after the roof is glued is one of the most frustrating moments in this hobby.
If you're still choosing a first illuminated kit, or you're mid-build and stuck, email [email protected] with a little detail about your project and a real person will help.
Which Lights and Power Source Does Your Kit Need?
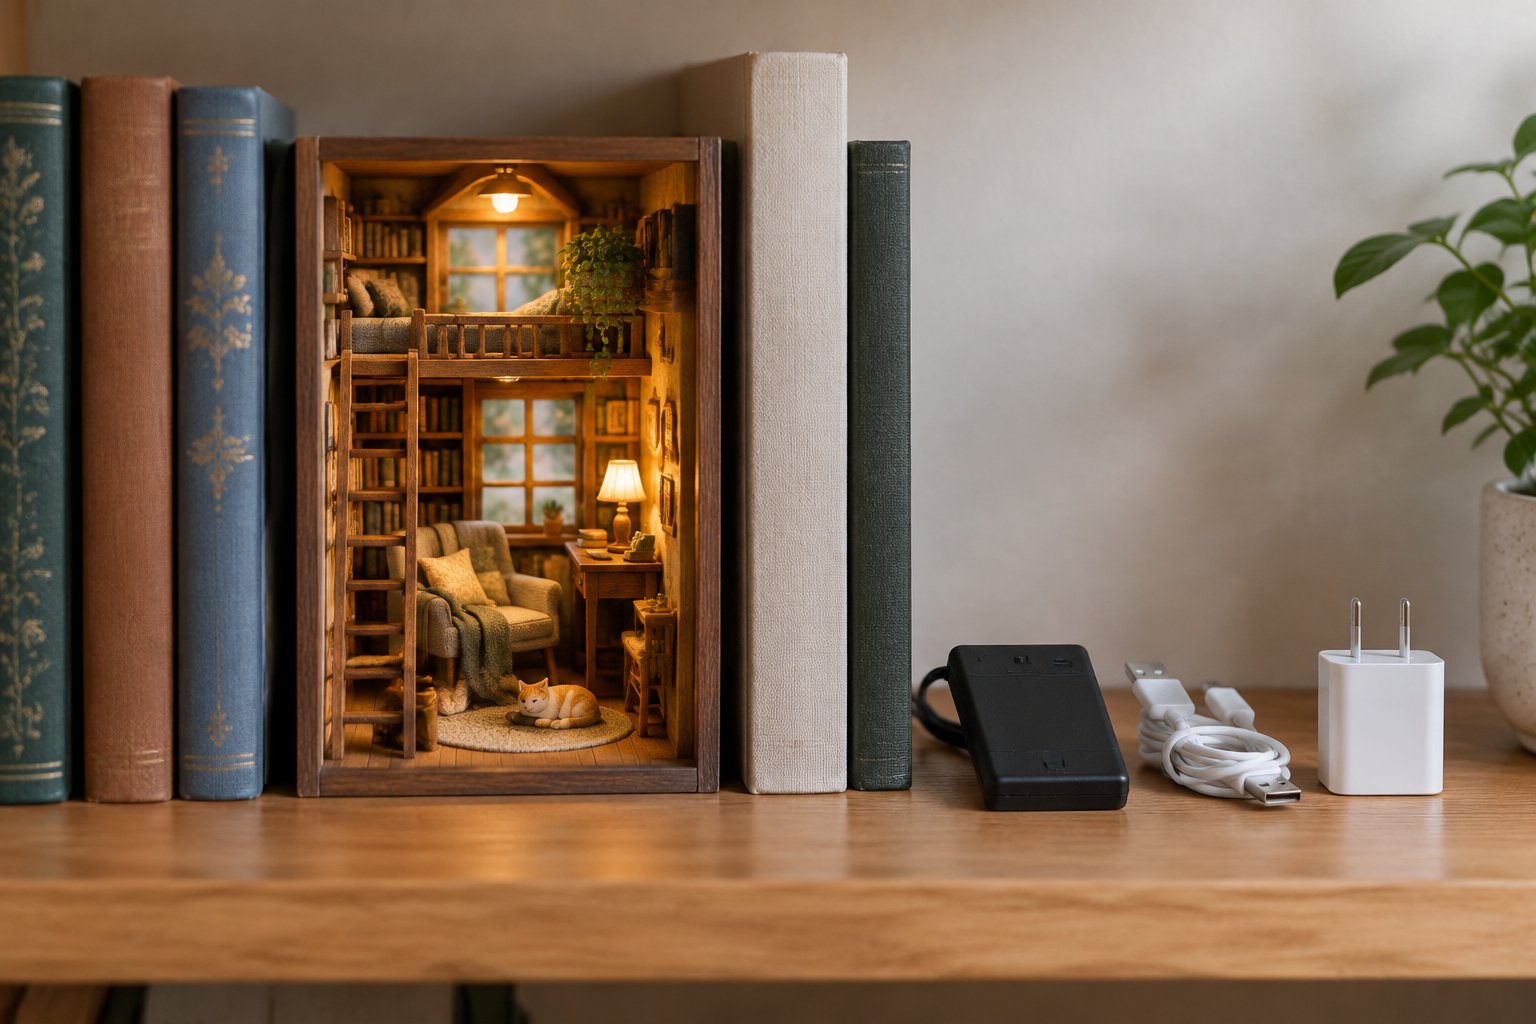
Your kit's lighting type and power source are set by its maker, so the listing and manual are where you confirm them before buying batteries or extras. Some kits use pre-wired LED strands with a plug-in battery box, others pair warm lamps with colored accents or touch switches, and battery types vary from AA to AAA across a single catalog.
Pre-Wired LEDs, Individual Lamps, and LED Strips
Most DIY book nook kits ship with lighting already designed for the scene. You'll meet three common forms:
- Pre-wired LEDs: small light beads already attached to thin wires and a battery box, sometimes joined with plug-in connectors.
- Individual lamps: a single bulb inside a miniature street lamp, hearth, or window, placed as a focal point.
- LED strips or strands: a run of lights along the ceiling or back wall for general glow.
Many kits combine these. A ceiling strand handles ambient light while a lone lamp adds a bright spot by a doorway. The manual shows which wire goes where, and the order matters because some lights must be fitted before the surrounding walls close.
"Pre-wired" describes how parts arrive. It doesn't promise that the build involves no wiring at all, since you may still thread wires through holes, join connectors, or route cables along corners.
Battery Packs vs. USB Power: Check Compatibility First
Battery packs and USB power both work in book nooks, though the right choice comes from the kit's design. Light-up designs from one maker include LED components, but the power source varies: some use USB and others use batteries.
Battery boxes keep the nook free of cables, which suits a scene tucked between books. USB power suits a desk or shelf near an outlet. The catch is compatibility. A battery-powered circuit and a USB-powered circuit are built around their own supply, and swapping one for the other requires matched components (more on that in the FAQ).
Before you buy, check three things on the listing: the battery type and count, whether batteries are included, and where the switch sits.
What These Kits Include and What to Buy Separately
Each kit below includes its lighting, while glue and batteries usually aren't in the box because of air-shipping restrictions. Battery requirements differ by kit, so read each listing. These kits are sold by several online sellers, sometimes under different names, so search the kit name to compare prices.
| Kit | Lighting notes | Power |
|---|---|---|
| Baker Street | Gas lamp; lighting wiring needs care | AA batteries, not included |
| Tarot Divination Society | Two light sets: warm lamps plus green light | Two AAA batteries |
| Hall of Eternity | Touch-switch light concealed in the hieroglyph panel | Check the listing |
| Plaza de los Muertos | LEDs throughout the street scene | AA batteries, not included |
Alongside batteries, I recommend quick-dry tacky craft glue, fine tweezers, good task lighting, and a tray for small parts. My ratings are research-based, drawn from maker specifications and buyer reports; the rating methodology explains how wiring complexity factors in.
Comparing Lighting Specifications Across Rolife, Robotime, and CuteBee
Rolife, Robotime, and CuteBee all publish lighting details per product, so compare individual listings over brand-wide assumptions. ShelfWorlds doesn't sell kits, and there are no affiliate links on this page.
Rolife (a Robotime brand) documents that many of its book nook kits use small plug-in LED connectors with a battery box and switch. CuteBee's Plaza de los Muertos runs on AA batteries bought separately.
When you compare any two kits, look for the same specifics: battery type, switch style (slide or touch), the number of light sets, and whether connectors plug together or need joining by hand.
How Do You Install Lights and Hide the Wires?
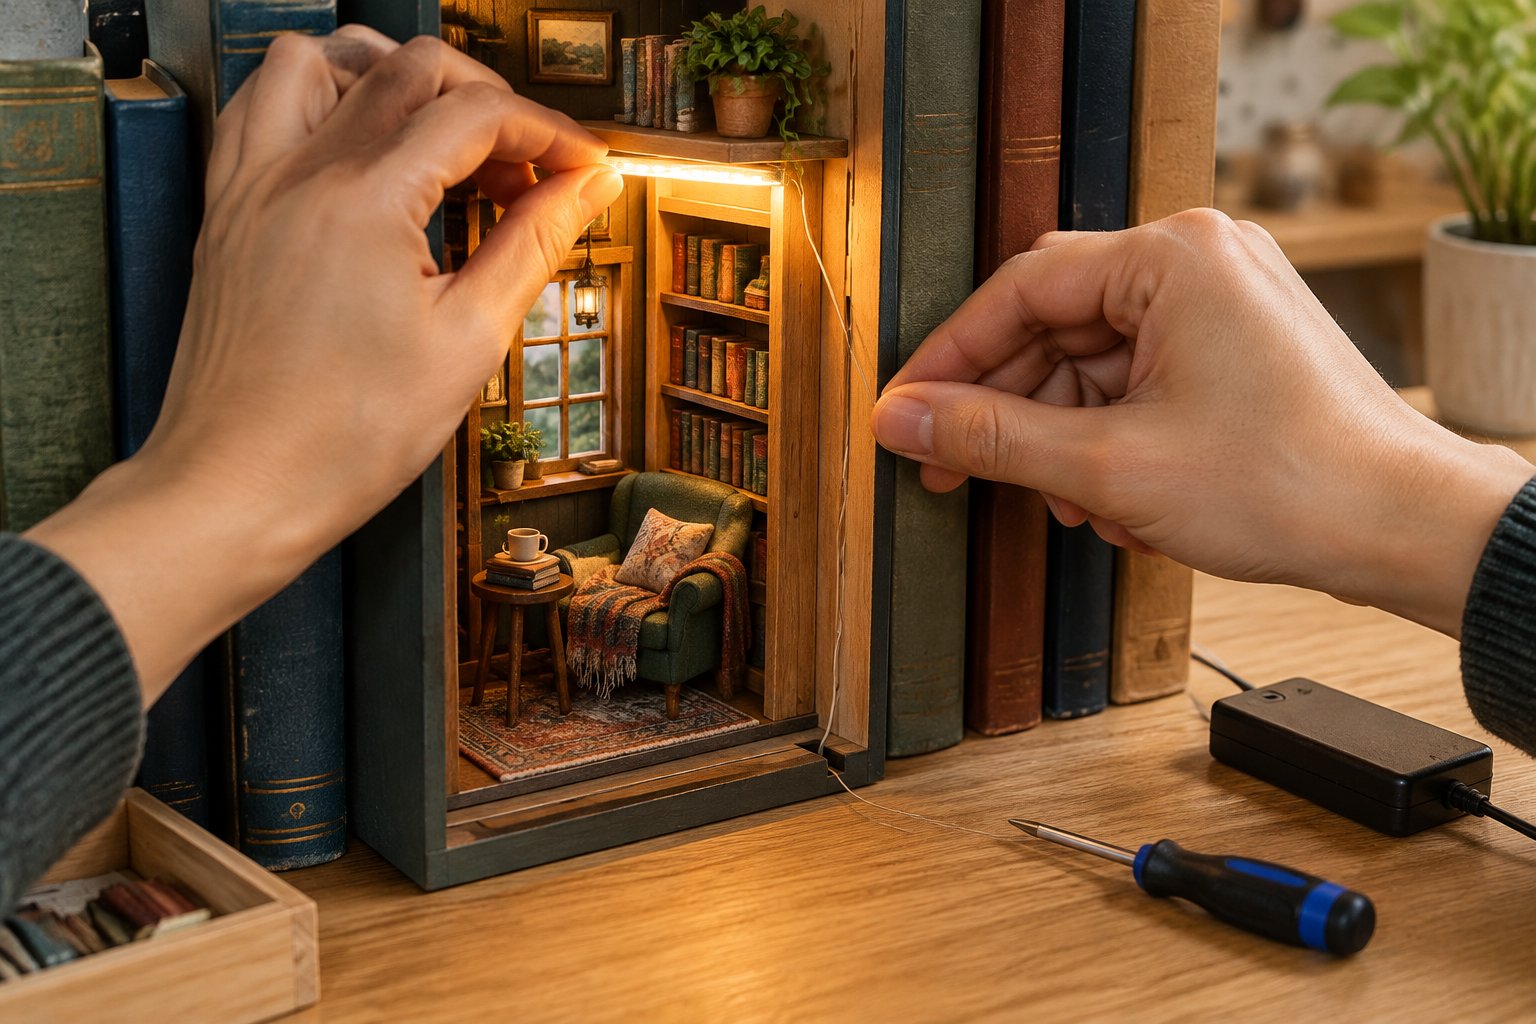
Install lights in the order your manual shows, testing first and routing wires before the panels that hide them are glued. Leave slack at bends, keep thin wires away from joints, and make sure the battery box stays reachable once the nook sits on the shelf.
Test the Supplied Lighting Before Assembly
Check every light the moment you unpack it, before a single panel is glued. Fit fresh batteries, join any connectors as the manual shows, and switch on. If one LED stays dark now, you can report it while the laser-cut wood is still flat on its sheets.
Testing early also teaches you the system. You'll see which wire leads to which lamp and how the switch feels, so later steps make more sense. Sort the electronic parts into their own tray so a tiny light bead doesn't vanish among stickers.
Plan Wire Routing Before Gluing Panels
Find the lighting steps in the manual before you start building. Wire routing is easiest when you know in advance which holes and channels carry each cable. Rolife's own guidance is to guide wires through pre-designed openings, keep cables near edges and corners, and leave slight slack near connectors and bends.
Dry-fit the walls around the wire path before gluing. If a panel presses on a cable during the dry fit, it will press harder once the glue sets. Kits with a lit hearth or fireplace are a good example: that wiring usually goes in before the roof, so plan the path from the first stage.
Conceal Wires Behind Walls, Shelves, and Scenery
Good concealment uses the scene itself. Run wires along inner corners, behind shelf backs, under floor panels, or up the back of a building facade where the viewer's eye never lands. A wire tucked into the seam where wall meets ceiling disappears in the glow.
Fix the wire with a tiny dot of glue or a slim piece of tape every few inches, keeping the glue off connectors. On level 3 builds like Notting Hill Bookstore, with dense shelf rows and window frames, pass wires behind each row before the next layer covers it.
Secure and Insulate Connections Without Straining Fine Wires
A secure connection and an insulated connection are two separate jobs. Securing means the metal parts make solid, lasting contact: a plug pushed fully home, or wires joined with a connector rated for their fine gauge. Insulating means covering that joint so it can't touch another wire.
Electrical tape or shrink tube insulates a joint, yet it won't rescue a loose twist underneath. If you join wires by hand, use connectors made for thin hobby wire, then cover the joint. Hold plugs by their housings when connecting them, never by the cable.
Never pull wire tight around a corner. Thin LED wire breaks inside its coating without showing damage.
Retest Before Closing the Roof and Keep Battery Access Clear
Switch the lights on again after each major wiring step, and always before the roof, ceiling, or outer walls go on. A dark lamp found now costs a few minutes; found later, it means prying apart glued wood.
Decide where the nook will live before you glue the battery pack in place. A finger needs to reach the switch and the battery cover once the nook is shelved, and Hall of Eternity's touch switch, hidden in the hieroglyph panel, needs to stay clear of anything that would block your hand. Read each stage before assembling that kit, because its chambers interlock.
Why Won't Your Lights Turn On?
Dark lights almost always trace back to power, a loose connector, or a pinched wire, so work from the simplest checks toward the structure. Start at the battery pack, then follow the wire routing toward the most recent step you completed.
Check Batteries, Polarity, Switches, and Touch Sensors
Begin with fresh batteries, even if the old ones are new from the package. Confirm each battery's positive and negative ends match the markings inside the box; one reversed cell keeps the whole circuit dark.
Next, check that the switch is fully on and the battery cover is closed. Small metal contact tabs inside the box sometimes get flattened, and Rolife suggests gently adjusting flattened contacts and clearing any debris.
For touch-switch kits, try a firm, full fingertip press on the marked spot. A touch panel wired too short or seated off-position won't respond reliably.
Find Loose Connections and Pinched Wires
If power checks out, inspect every connector. Each plug should sit fully inserted, and any hand-joined wires should be firmly connected before their insulation.
Then look where wires pass through joints. If the lights worked before your last step, the fault usually sits near that section, where a wall, floor, or roof may have squeezed a cable. Gently wiggle visible wires with the lights on; a flicker as you move one points to the problem spot.
Troubleshoot Flickering or Lights That Stop After Assembly
Flickering points to an unstable connection. Try fresh batteries first, then reseat connectors and check whether the battery contacts feel loose.
Some flicker is intentional. Some hearth and candle LEDs are designed to flicker, so compare the behavior to the listing before assuming a fault. Lights that dim gradually over days suggest worn batteries; lights that cut out when you touch the nook suggest a joint that needs securing.
When to Request a Replacement Lighting Part
Request a replacement once you've checked batteries, polarity, the switch, and connectors and a light still won't work.
Send the seller three details:
- Your order number
- The kit name
- The part number from the instruction booklet
A photo of the battery box or wiring area helps the seller identify the right part faster.
How Can You Improve the Glow Without Rebuilding?
You can improve a finished miniature world with placement, diffusion, and restraint, all without removing glued panels. Most fixes involve the light you already have.
Balance Warm Ambient Light With Small Focal Points
A scene reads as deep when a soft general glow sits behind one or two brighter spots. Tarot Divination Society does this by design: warm lamps carry the room while green light marks the mystical details.
Display matters too. Place the nook in a dim spot you pass in the evening, flanked by taller books so the glow spills from a recess. A pale wall behind the shelf reflects warmth back toward the scene.
Reduce Glare and Hide Visible LEDs
If a bare LED faces the viewer, a scrap of tracing paper placed over it softens the hard spot into lamplight. You can also nudge a strand back behind a ceiling line or wall return.
Check the front panel as well. Buyers note that Magic Academy has a slightly frosted front panel, and some feel the scene looks better without it.
Use Flickering Hearths, Lanterns, and Colored Accents Purposefully
One flickering source per scene reads as fire; several compete with each other. Let a hearth or lantern be the single moving light, and give colored accents a story reason, like the green glow of a fortune-teller's crystal ball.
Seasonal themes reward this approach. Spooky scenes from my Halloween book nooks guide pair warm light with a few colored highlights.
Check Voltage, Current Requirements, and Space Before Adding Lights
Adding miniature kits' extra LEDs means matching them to the existing supply. Before buying, confirm the voltage your kit's battery pack delivers, how much current the added lights need, and whether a strand can physically fit behind the scenery. Mismatched lights either glow dimly or fail early.
When specifications aren't published for your kit, ask the seller before you add lights to pre-wired LEDs.
Test Early for a Glow You Can Enjoy
A book nook glows best when its lighting is tested before assembly, routed through the manual's channels, secured without strain, and retested before the roof closes. Keep the battery box and switch reachable, fix dark lights by checking power first and connectors second, and use diffusion and placement to refine the finished scene.
If you're picking a first project, my best book nook kits for adults guide is a good place to start.
Frequently Asked Questions
Do all book nook kits come with LED lights?
Most light-up book nook kits include LEDs, though contents and power sources vary by maker. Glue and batteries are usually bought separately. Check each listing for the battery type.
Do I need to solder the lighting wires?
No soldering is required for the kits in this guide; you join supplied parts as the manual shows. If you add your own lights, use connectors rated for fine hobby wire and insulate the joint afterward.
Can I replace a broken LED in my book nook?
Yes, if you can reach the wire run, which is why preserving access during the build helps. If a part is faulty, ask the seller for a replacement and send your order number, kit name, and manual part number.
Can I convert a battery-powered book nook to USB power?
Conversion works only with a properly matched system, since the lights were designed around a specific supply. A cable swap alone can deliver the wrong voltage for pre-wired LEDs, so confirm voltage and current before attempting USB power.
Can I leave my book nook lights on overnight?
Follow your kit maker's guidance, because heat and runtime depend on the specific lights and power supply. For battery kits, switching off when you leave the room also extends battery life.