3D Printed Book Nook: Files, Printing, and Assembly
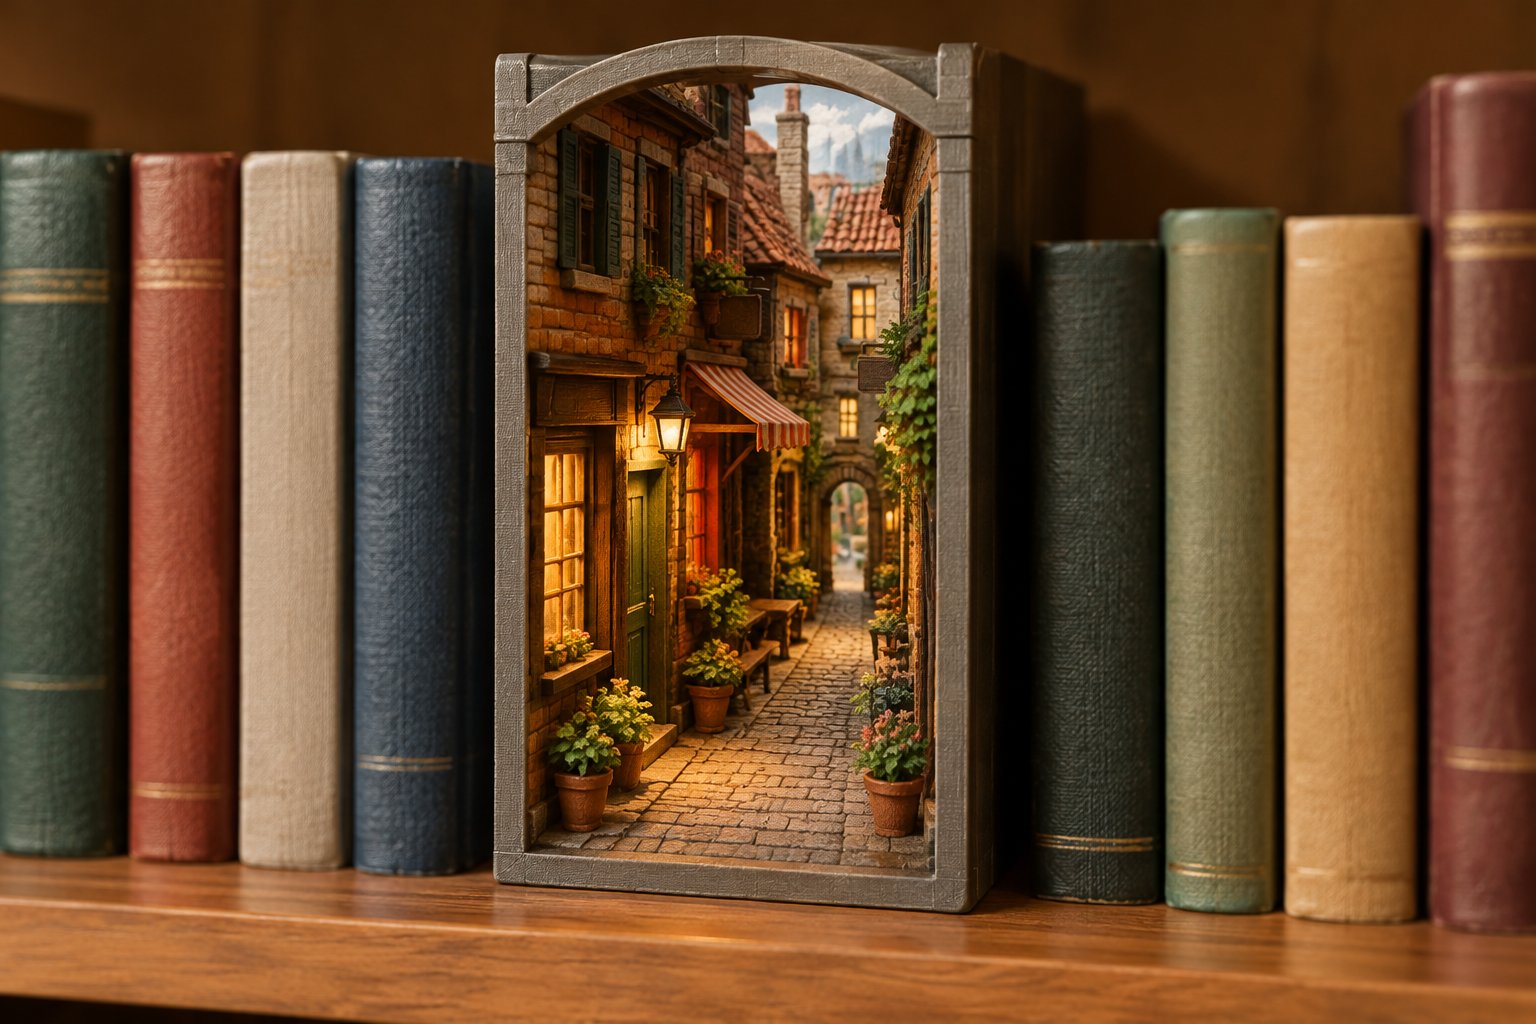
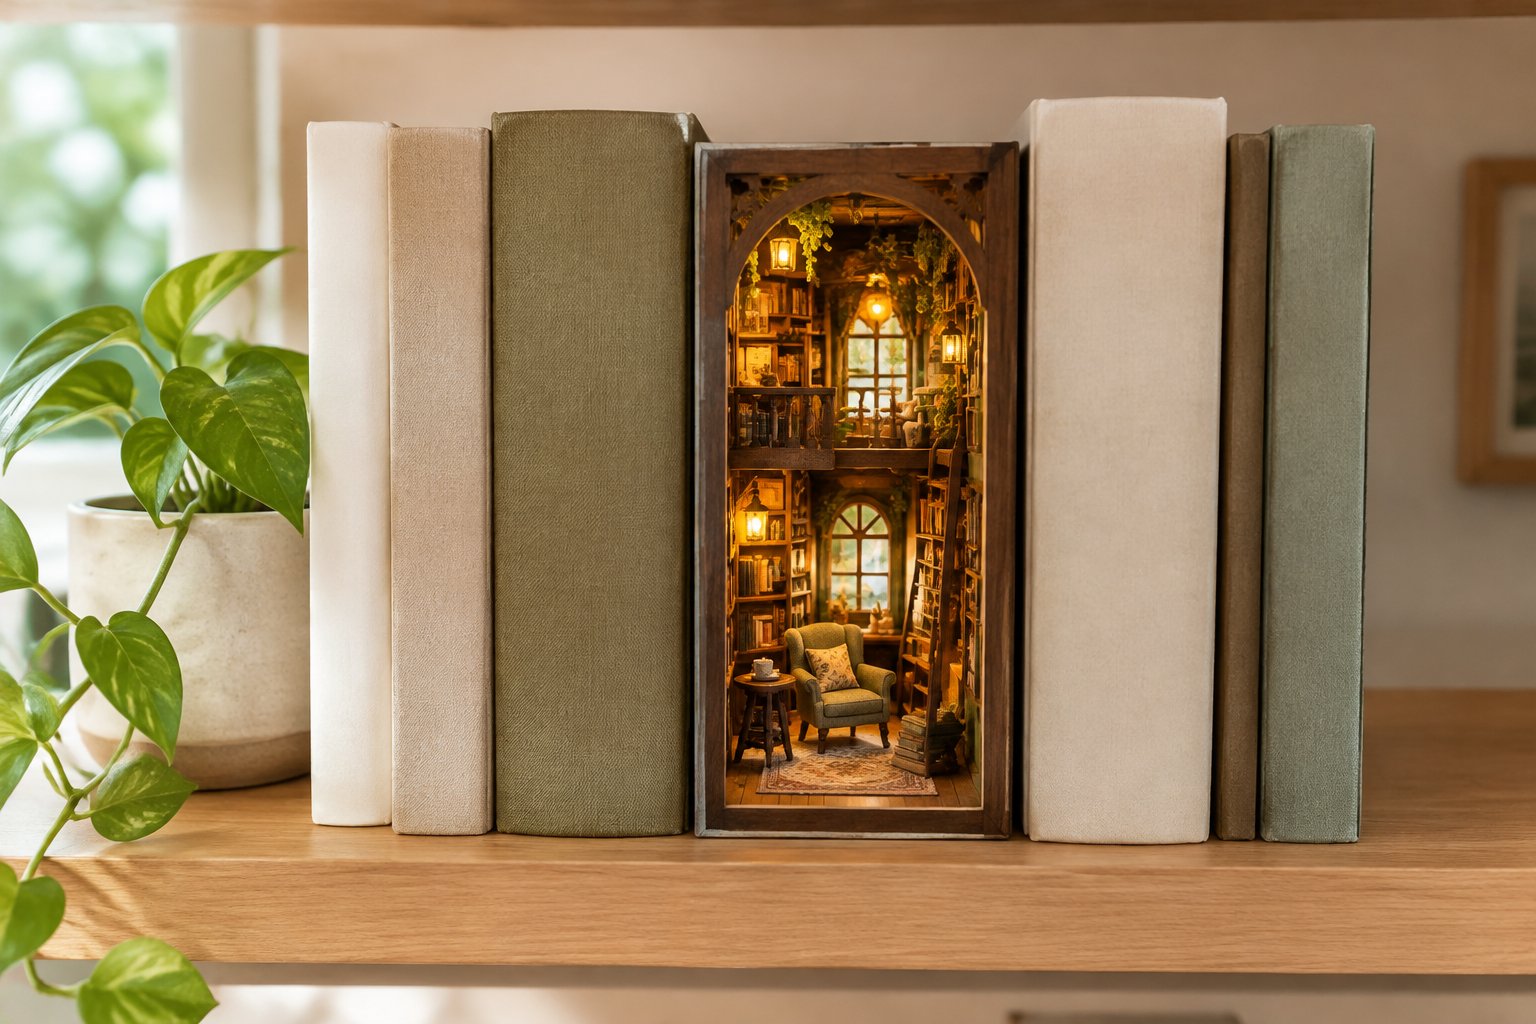
Shelf space between your favorite books can hold a lit bookshop, a dragon's lair, or a candlelit reading room, and a home 3D printer lets you print that scene to match your exact shelf and reading tastes. Thousands of free and paid files exist. The challenge is picking one you'll finish, then turning raw plastic into a glowing scene that looks deliberate on the shelf.
Yes, you can print a complete 3D printed book nook at home: choose a full-scene file that lists its finished dimensions, includes assembly instructions, and leaves a clear path for LED wiring, then budget for painting and finishing on top of the print hours. If you don't own a printer or want a gentler first project, a level 2 wooden kit gives you the same lit shelf scene from pre-cut parts.
ShelfWorlds doesn't sell kits, STL files or printing services, and there are no affiliate links on this page. I rate kits on a five-level difficulty scale so builders know what they're signing up for. The same difficulty-first thinking applies to printed scenes. If you'd like help matching a scene to your shelf and experience, email me at [email protected] with your budget and build history.
Where Can You Find Free and Paid Book Nook Files?
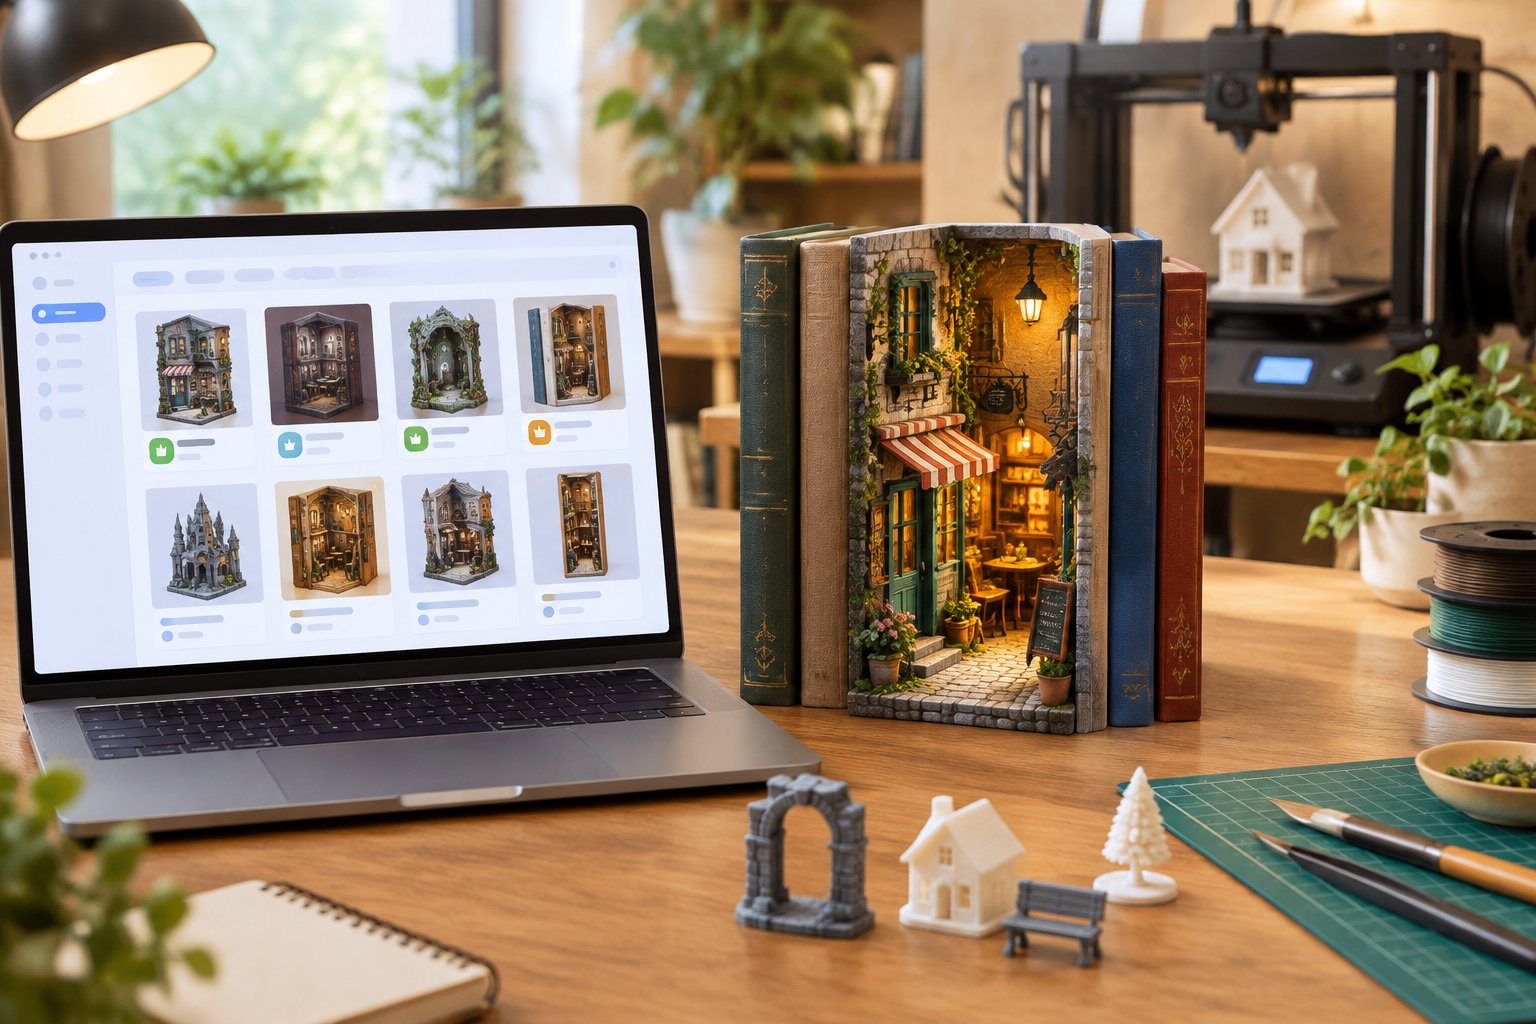
Most printable 3D models for book nooks live on a handful of community platforms, plus paid bundles on marketplaces like Etsy. A search engine such as Yeggi helps you scan across sites, and each listing still needs checking for what it contains.
Browse Printables, MakerWorld, and Cults for Downloadable Designs
Three platforms carry the bulk of community designs. Printables groups them under a booknook tag, and MakerWorld lists 999+ models tagged book nook alongside user-curated collections. Cults mixes free and premium files, with 715 free booknook models under one tag.
Each site shows a mix of free downloads and paid designs. Paid files tend to come from designers who sell themed series, so you'll see consistent box sizes across a set. Before downloading, scroll past the hero render to the file list and description; that's where print settings and part counts appear.
If you're new to the hobby itself, my primer on what a book nook is covers display, sizing, and lighting basics before you commit to printing.
Use Yeggi to Discover Models and Check the Original Listing
Yeggi works as a search engine for 3D models, indexing designs from many hosting sites. A search for "book nook" returns 5000+ printable 3D models, which makes it useful for spotting themes you'd miss browsing one platform.
Treat Yeggi results as leads. Click through to the original listing on the host site, then confirm:
- The current price (free files sometimes move to paid)
- The license terms
- Which files download (STL, 3MF, or both)
- Whether the designer posted print settings
Prices and availability change, so the host listing is the only place to trust for those details.
Distinguish Complete Scenes from Shells, Props, and Bookends
Search results mix four very different things under one label:
| File type | What you get | Who it suits |
|---|---|---|
| Complete scene | Box, interior layers, and details | Builders wanting a finished nook from one download |
| Shell or frame | An empty case to fill yourself | Kitbashers with their own props |
| Props | Furniture, barrels, books, signs | People customizing an existing kit |
| Bookend or insert | A decorative piece, sometimes unlit | Shelf decor without a full interior |
A modular frame like one MakerWorld design uses interchangeable bottom plates to swap scenes, which is a shell you furnish. Read the description to learn which category you're downloading.
How Do You Choose a Model You Can Actually Finish?
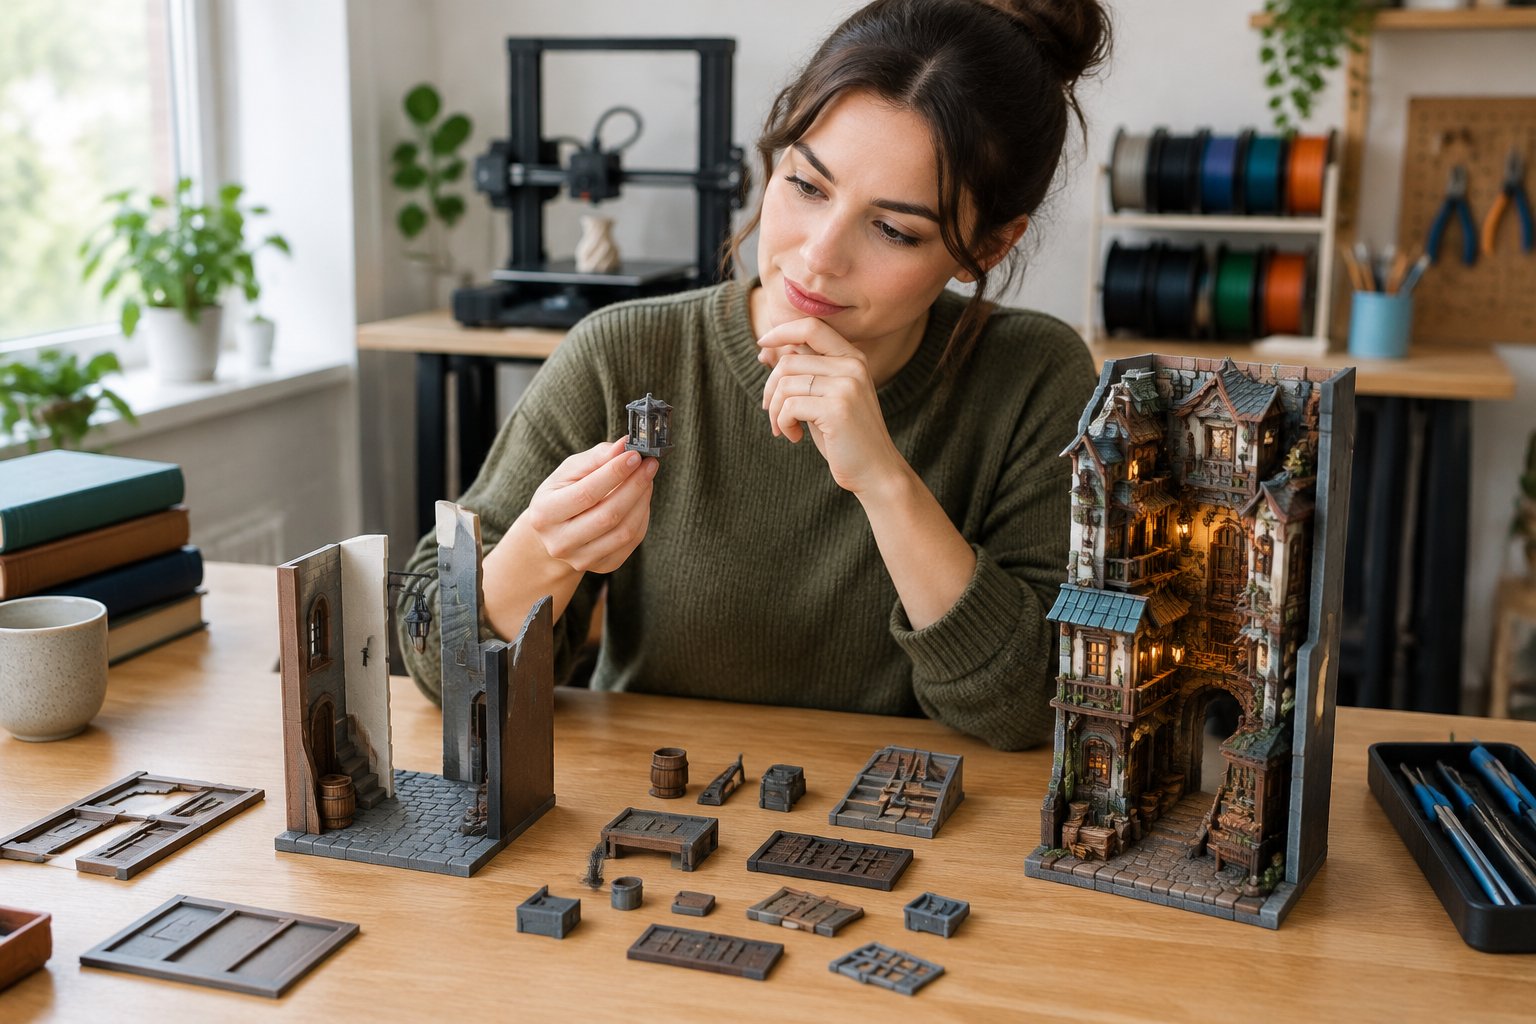
A finishable model fits your shelf and your 3D printer's bed, comes with instructions or build photos, and keeps tiny parts and wiring within your patience level. A license check rounds out the list if you plan to change or sell anything.
Check Shelf Dimensions, Build Volume, and Part Scale
Measure your shelf gap height and depth first, then compare against the model's finished dimensions. Next, check that the largest single part fits your printer's build plate; some designs split the box into panels, while others print it whole.
Scale decides whether the scene looks right. Most kits sit at 1:24 or 1:48 scale, and mixing props from different scales produces oversized chairs next to tiny doors. Confirm the scale when you combine files from more than one designer.
Look for Instructions, Assembly Photos, and Successful Makes
Good listings explain what each file is and how pieces go together. A Harry Potter-inspired design on Thingiverse, for instance, ships STL files for the box and scene layers plus a 3MF with pre-set color changes and lists a 0.20 mm layer height.
Also look at the "makes" or comments section. Photos from other builders show whether the parts fit on printers other than the designer's, and comments flag warped panels or missing files before you spend filament.
Assess Supports, Tiny Parts, and Lighting Access
Supports are temporary scaffolding the printer adds under overhangs, and removing them from small interior detail takes time. One Printables designer printed all parts without supports while noting results depend on the printer, which is the kind of honest note worth looking for.
Then check lighting. Designs with a channel, hollow wall, or removable back make LED wiring straightforward. One MakerWorld light design specifies a 5 V LED strip with USB power, so you know what to buy before printing.
Read the License Before Modifying or Selling a Design
Licenses vary widely. Some free files allow remixing with credit, while paid bundles restrict use; one Etsy STL pack states that reselling, sharing, or modifying for resale is not allowed. If you plan to sell finished prints or post an edited file, confirm the license permits it.
How Do You Print, Assemble, and Light the Scene?
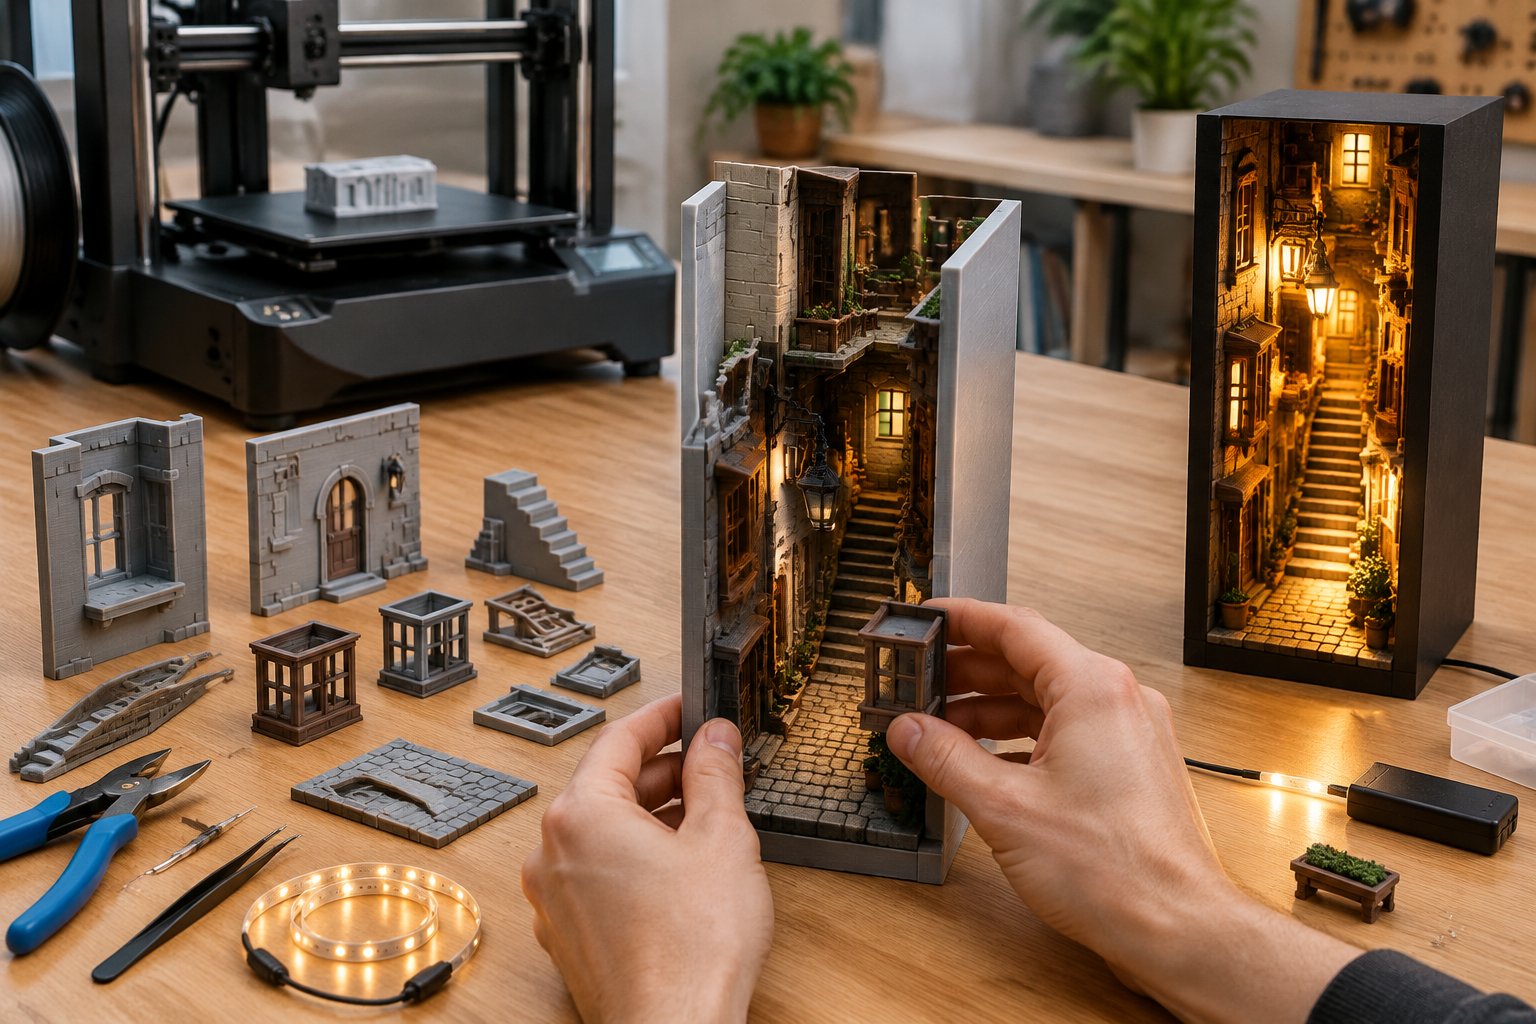
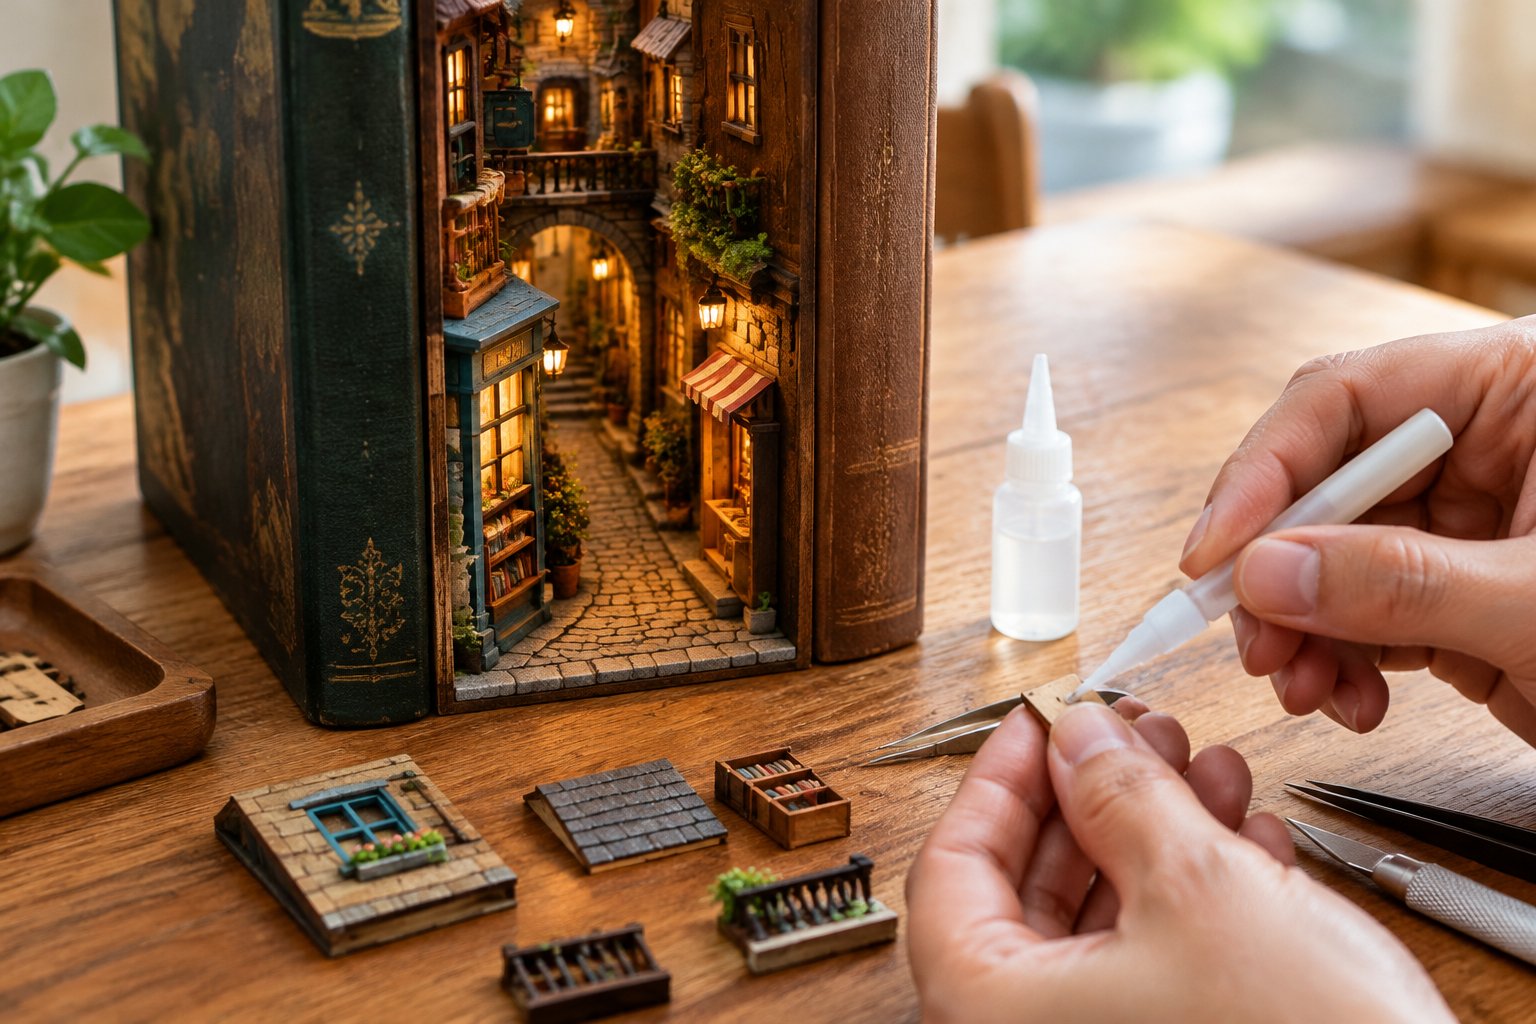
Pick a printer type that suits your space, test the joints that must fit, and treat painting and wiring as their own stage of hands-on work. A 3D printed book nook involves hours of unattended printing plus hours of finishing at the table, and only the second kind needs you.
Choose Between FDM and Resin for Your Workspace and Detail Needs
FDM printers melt filament and build parts layer by layer. PLA filament is the usual beginner material because it's easy and clean, and a 0.2 mm layer height balances detail with speed. FDM handles the box and larger interior pieces well.
Resin printers cure liquid resin with light and capture finer detail, which suits figures and ornate props. They need ventilation, gloves, and a wash-and-cure step, so plan a dedicated workspace if you go that route.
Budget for Materials, Failed Prints, Finishing Supplies, and Time
Plan your costs across four buckets:
- Materials: filament or resin, with spare for reprints
- Failed prints: large prints fail more often, so start small
- Finishing: acrylic paint, brushes, glue, sandpaper, LEDs, and wire
- Time: print hours (machine time) and finishing hours (your time)
Paint helps a lot here. Raw prints look plastic, and basic acrylic paint plus a dark wash and dry brushing adds depth quickly.
Prepare the Files and Test Critical Fits Before a Full Print
Load the STL or 3MF into a slicer such as Cura or Bambu Studio, which converts the model into printer instructions. Check scale, orientation, and support settings in the preview.
Before committing to a long print, run a small test of any joint that must fit tightly, such as a slot or dovetail. Some designs reduce gluing considerably; one MakerWorld bookshop describes assembly as 95% glue free, which depends on accurate tolerances. Others separate small pieces so you can print each color separately without a multicolor printer.
Clean Up, Paint, and Test the LEDs Before Closing the Structure
Remove supports, sand visible seams, and paint pieces before final assembly, when every surface is easy to reach. Use small dots of glue; superglue leaves a shine that stands out in a dim scene.
Wire and test the lights while the structure is still open. If LED leads barely reach your battery box or power board, extend them with 28 gauge wire and heat shrink tubing before you close anything. I give the same advice for wooden kits: wire the lighting before fitting the roof.
Should You Print Your Scene or Build a Wooden Kit?
Print your scene if you already own a printer and want full control over theme and size; choose a wooden kit if you want pre-cut parts, included lighting, and a known difficulty level. Both paths end in a lit scene on your shelf.
Compare Customization, Equipment Costs, and Hands-on Assembly
| Factor | 3D printed book nook | Wooden DIY kit |
|---|---|---|
| Customization | Very high | Moderate (paint, add-ons) |
| Equipment needed | Printer, slicer, paint | Glue, tweezers |
| Lighting | Sourced separately | Included |
| Instructions | Varies by designer | Included |
| Hands-on work | Supports, sanding, painting, wiring | Gluing, stickers, wiring |
| Difficulty guidance | Rarely rated | Rated in ShelfWorlds guides |
Printing shines once you know what you wish kits had. If you're comparing materials more broadly, my guide to LEGO book nooks vs wooden kits covers a third option.
Use ShelfWorlds' Difficulty-first Approach to Match Your Experience
I rate kits on a five-level scale, from level 1 (First Evening) to level 5 (The Deep End). Level 2, Weekend Build, means clear instructions and forgiving stages over roughly 4–7 hours. Level 3, Steady Hands, adds small parts, tweezers, and 6–10 hours.
My ratings are research-based, drawn from maker specifications and buyer reports, and I say so in each guide. Apply the same filter to printed files: estimate piece size and wiring complexity before you pick a theme. My best book nook kits for adults guide shows each rating.
Consider Magic Academy or Magic Wand Store for a Pre-cut Starting Point
Magic Wand Store (level 2) is a compact wand shop, about 7 inches tall.
Magic Academy (level 2) is a furnished fantasy academy at one-twelfth scale, measuring 9.3 × 4.3 × 7.1 inches. Precision stickers handle much of the detail, and buyers note the front panel looks slightly frosted. For both, glue and batteries are bought separately. These kits are sold by several online sellers, sometimes under different names, so search the kit name to compare prices.
Choose a Scene That Fits Your Shelf and Your Skills
A good book nook starts with a tape measure and an honest look at your patience for small parts. Measure the shelf gap, then pick a file or kit whose finished size fits it.
For printing, favor complete scenes with listed dimensions, instructions, builder photos, and a clear wiring path, and read the license before remixing. Budget for print time and finishing time separately, test tight joints early, and light the scene before closing it.
If you'd prefer pre-cut parts and included lighting, start at level 2 with a kit like Magic Academy or Magic Wand Store. My roundup of the best book nook kits for adults includes more options.
Frequently Asked Questions
Can you 3D print an entire book nook?
Yes, many files include the box, interior layers, and details for a full scene. Some designs print the two main panels separately and then glue the perimeter together. You'll still add LEDs, paint, and glue yourself.
Where can I find free book nook STL files?
Printables, MakerWorld, Cults, and Thingiverse all host free book nook files. Yeggi searches across sites, though you should open the original listing to confirm the price and license.
Can I print a book nook from a PDF?
A 3D printer can't read a PDF; slicers need STL or 3MF printable 3D models. PDFs that come with book nook files hold instructions or paper templates for printed wallpaper and signs.
Can I make a book nook without owning a 3D printer?
Yes, wooden DIY kits come with pre-cut parts and lighting, so you only need glue and tweezers. Magic Academy and Magic Wand Store are two level 2 options.
Where can I find dragon or Harry Potter-inspired book nook files?
Cults hosts dragon designs such as the Dragon Emerging book nook series, and Thingiverse carries fan-made Harry Potter-inspired scenes. Check each license, since fan designs usually restrict commercial use.