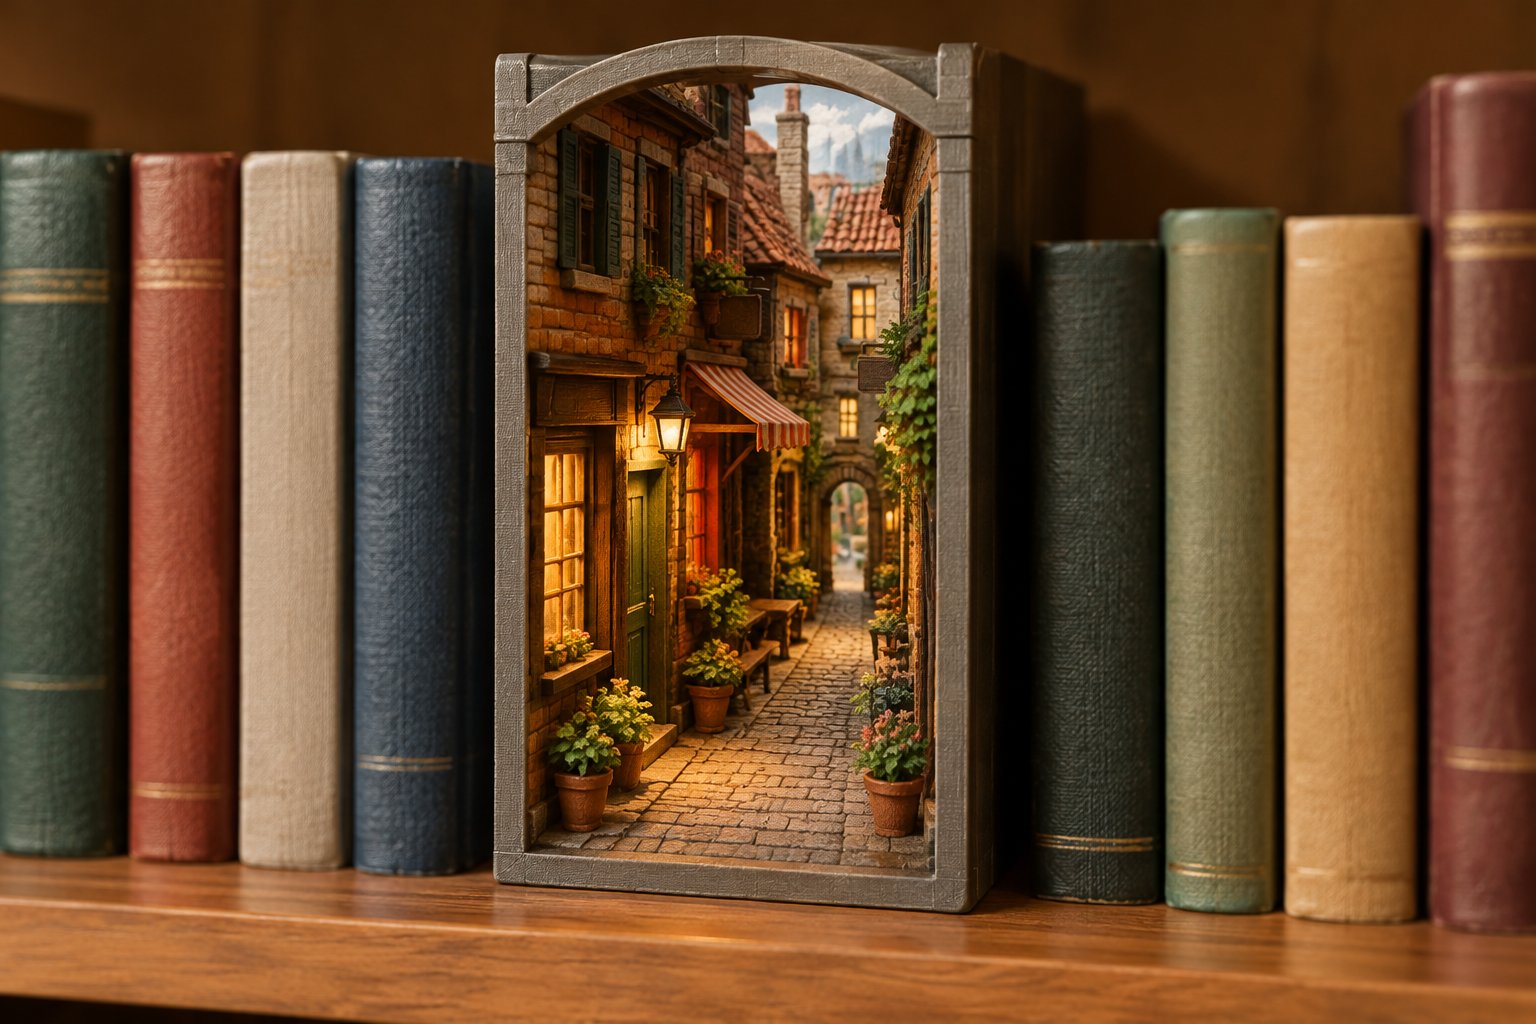
Best Glue for Book Nooks: 2026 Material-by-Material Guide
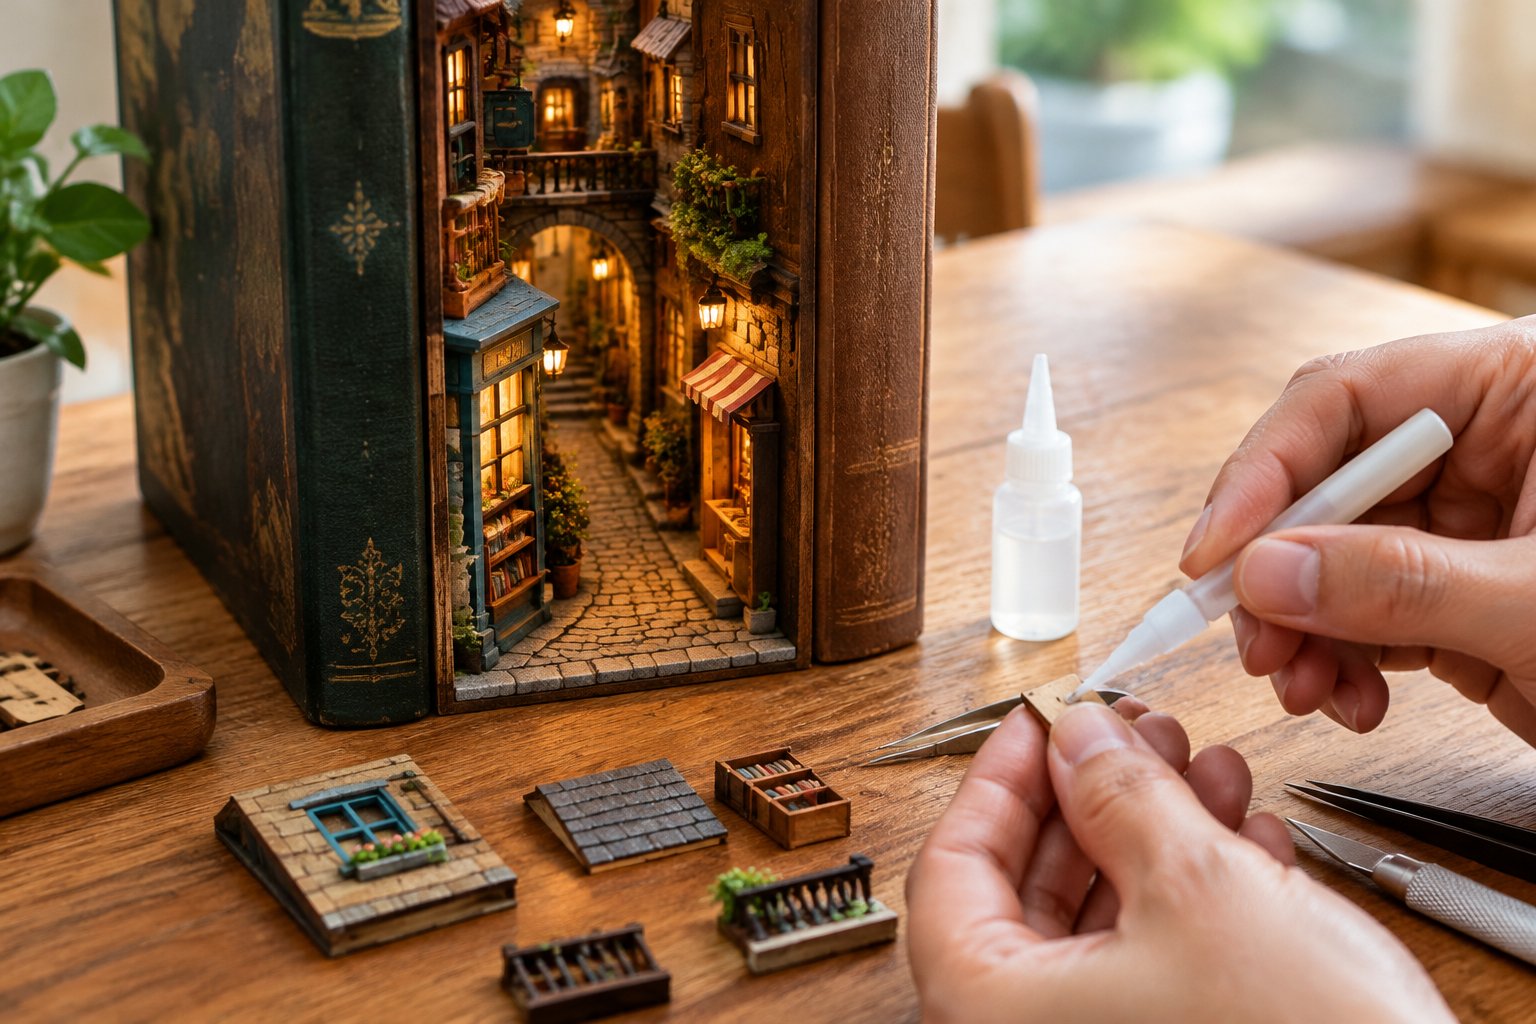
A tiny wooden scene lives or dies by its glue. Too much, and paper wrinkles or a window clouds over. Too fast, and a shelf ends up glued upside down for good. The right adhesive gives you a few calm seconds to slide each piece into place, then grips well enough that the finished scene glows on your shelf for years.
For most builders, the best glue for book nooks is a quick-dry tacky craft glue: it grabs faster than ordinary white glue on wood, paper, and small trims, yet leaves a short window to nudge parts straight before they set. Wood glue earns a spot for bare wood-to-wood structural joints. A specialist clear adhesive or gel super glue helps only for the odd plastic, metal, or opaque micro-part.
Quick-dry tacky glue and fine tweezers are the supplies I recommend for every DIY book nook, because many kits don't ship with glue. If you're unsure what your build or gift recipient needs, email [email protected] and a real person (the owner) will help you plan it.
Which Adhesives Should You Buy First?
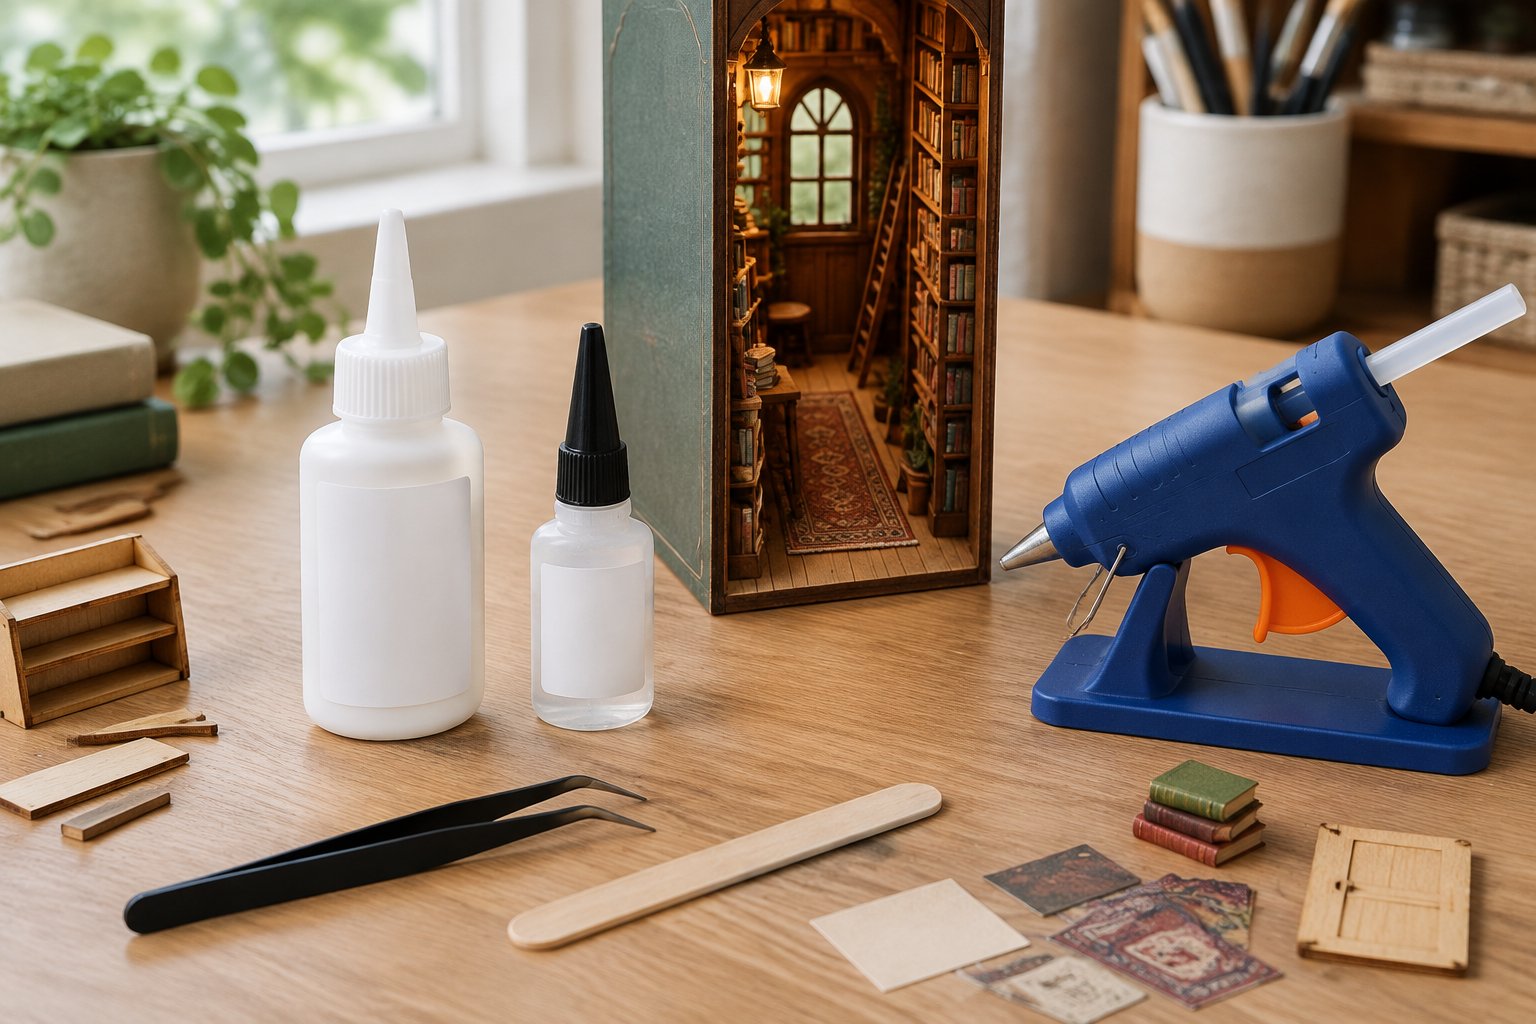
Buy one bottle of quick-dry tacky glue first, and add other adhesives only when a specific joint calls for them. Tacky glue covers paper, thin plywood, and decorations; wood glue suits load-bearing wooden seams; super glue is a small, careful helper for tiny opaque parts.
| Adhesive | Best book nook jobs | Watch out for |
|---|---|---|
| Quick-dry tacky glue (thick PVA) | Paper, thin plywood, trims, miniature books | Excess wrinkles paper; weak on smooth plastic and metal |
| Wood glue | Bare wood-to-wood structural joints | Needs clamping time; dried squeeze-out is hard to remove |
| Gel super glue (CA) | Tiny opaque wood, metal, or plastic parts | Fogs clear plastic, bonds skin, almost no adjustment time |
| B-7000-type precision adhesive | Mixed-material details, some acrylic | Solvent odor, stringy; test first |
| Two-part epoxy | Heavy metal or resin add-ons | Mixing, long cure; rarely needed in kits |
Quick-Dry Tacky Glue as the Forgiving Starting Point
Tacky glue is a thicker, faster-grabbing kind of PVA (polyvinyl acetate) craft glue. Because it's thick, it stays where you dot it instead of running across printed paper, and a piece placed with tweezers tends to stay put while you let go.
It also forgives. You get a brief window to slide a wall square or straighten a sign before it sets. One builder of a first kit used mostly Aleene's Tacky Glue, which looks white when it first comes out but dries clear, and felt it would have handled even the spots where she reached for super glue.
Formulas differ between brands, so read the label for grab speed and cleanup. Pair the bottle with a fine precision tip or a toothpick; the applicator shapes your results as much as the glue does.
When Wood Glue Makes Sense for Bare Wooden Joints
Wood glue is designed to soak into raw wood fibers and form a strong, rigid seam. It shines on unprinted plywood edges that carry weight: a base frame, a floor meeting a wall, or a snapped tab you need to rejoin.
It sets more slowly than quick-dry tacky glue and wants clamps, painter's tape, or a heavy book on top while it dries. Skip it on printed surfaces and paper overlays, where its wetness and stiffness bring no advantage. Most current kits hold together well with tacky glue alone, so treat wood glue as an upgrade for builders tackling level 3 kits or repairs.
Super Glue as an Optional Helper, Not the Default
Cyanoacrylate (CA), sold as super glue, bonds in seconds. That speed is its risk: a misaligned piece is permanent almost instantly.
Choose the gel version for control and use a pinpoint amount only after a dry fit confirms position. Keep it well away from clear windows, since its vapors leave a white haze, and from your fingertips. A tiny metal lamp post or a loose bead of resin are fair jobs; walls and paper details belong to tacky glue.
If you're still choosing a project, our roundup of the best book nook kits for adults notes which designs lean on stickers and which on glued micro-parts.
Match the Glue to the Material
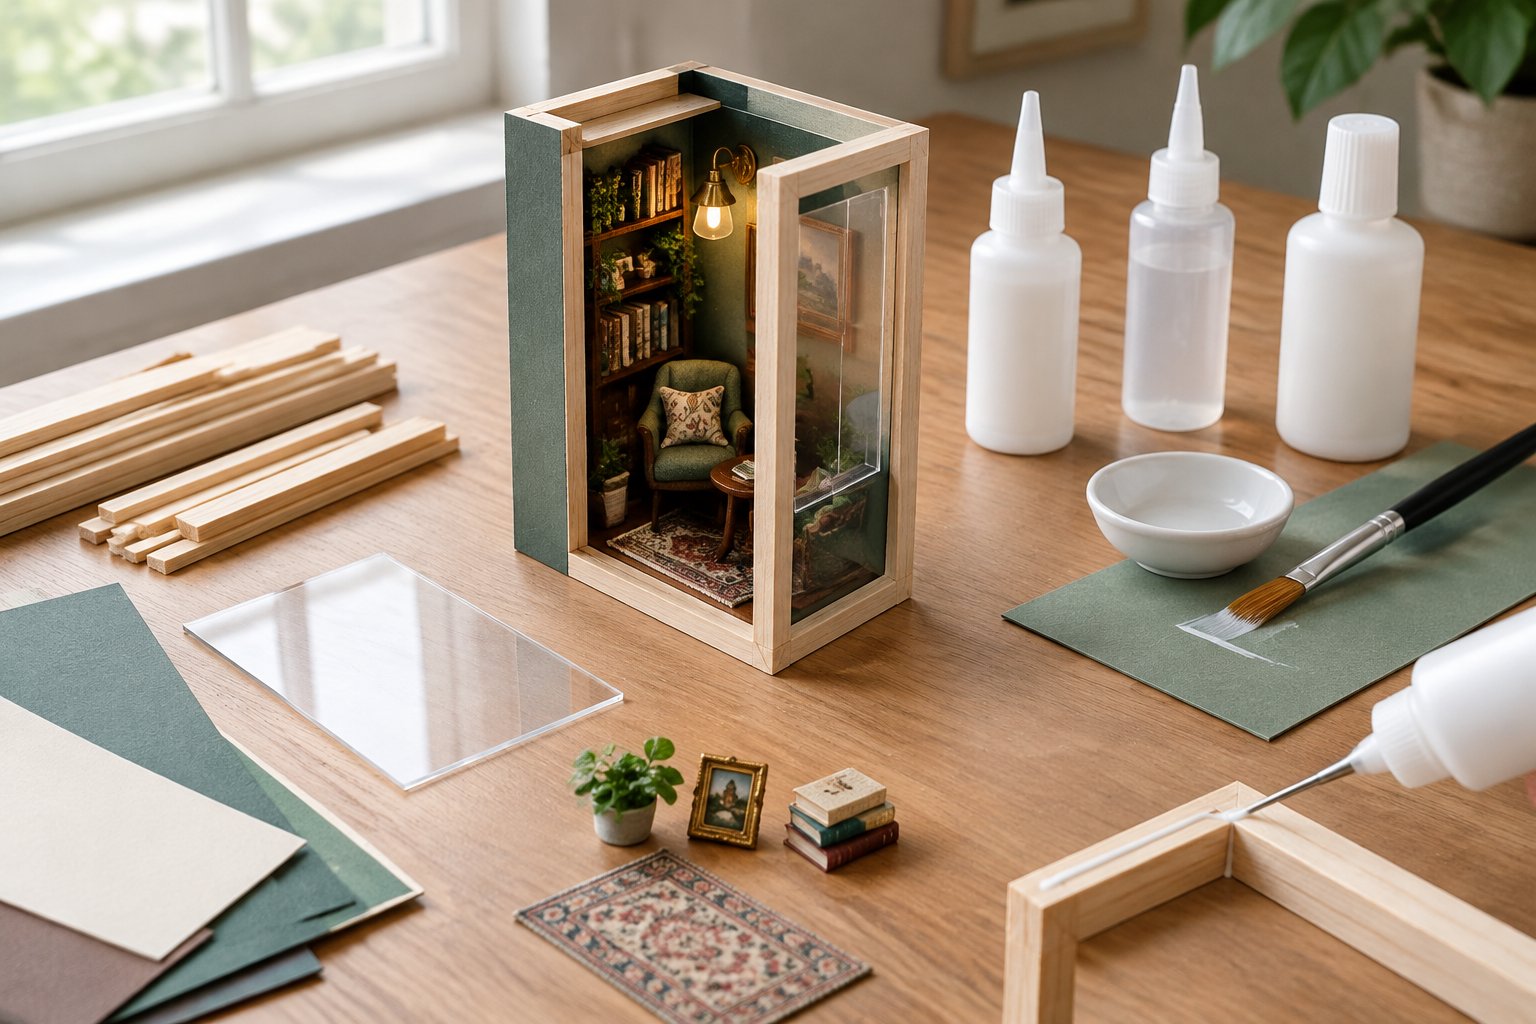
Each material in a book nook kit reacts to adhesive differently, so pick by surface first and bond speed second. Paper wants thin, controlled layers; clear plastic wants a compatible adhesive kept off the visible pane; hard metals and resins may need a specialist product.
Paper Books and Wallpaper: Glue Stick, Thin PVA, or Craft Tape?
Paper wrinkles when it gets wet, and water-based glue is wet. For small cardstock pieces and folded miniature book covers, a glue stick or a very thin smear of tacky glue gives the cleanest result.
- Glue stick: easy to control on wallpaper sheets and labels; lighter hold on folds.
- Thin layer of tacky glue: stronger grip on box tabs and layered paper.
- Double-sided craft tape: zero moisture, handy for large flat backdrops.
Spread adhesive thinly and smooth paper from the center outward. Test printed sheets on a scrap edge first, and skip routine dilution, which only adds water to paper that's already prone to curling. A shelf-heavy build such as the Wonder Library book nook kit, with rows of miniature books, rewards this patience. These kits are sold by several online sellers, sometimes under different names, so search the kit name to compare prices.
Miniature Windows: Choose a Compatible, Non-Fogging Adhesive
"Dries clear" and "safe on clear plastic" are two different promises. A glue that dries transparent on wood can still haze, craze, or fail on acrylic or PET window film.
Look for an adhesive labeled compatible with the plastic in your kit, and test it on a hidden corner. Glue the frame and keep adhesive off the pane itself. Leave protective film on until surrounding work is done if the manual allows. Never use liquid super glue near visible windows.
Some kits sidestep the issue. The Magic Academy book nook kit uses precision stickers for much of its detail, and buyers note its front panel already looks slightly frosted, so some builders display it without that panel.
Metal, Resin, and Plastic: When to Consider B-7000 or Two-Part Epoxy
Water-based tacky glue grips porous surfaces like wood and paper. It struggles on smooth, non-porous metal, resin, and hard plastic.
B-7000 is a solvent-based, semi-liquid multi-surface adhesive. It is a separate chemistry from tacky PVA, with a stronger smell, a stringier feel, and its own cure time listed on the tube. It suits a loose metal charm or acrylic accent; test it before using it near visible clear parts.
Two-part epoxy (resin plus hardener, mixed before use) gives the toughest hold for heavy add-ons. Most kits never need it, so beginners can leave it off the shopping list.
Why Hot Glue Is Usually Too Bulky for Miniatures
A hot glue gun lays down a thick bead and leaves fine strings. At one-twelfth scale, that bead can be wider than the part you're attaching, and it stops walls from sitting flush.
It has a place in scratch-built dioramas for hidden foam bases or backgrounds no one will see. For pre-cut kits with slotted panels, tacky glue fits the tolerances far better.
Where Mod Podge Fits as a Paper Adhesive and Finish
Mod Podge is a decoupage medium that both glues and seals paper. It works for laying printed paper onto wood or adding a protective coat over a paper sign.
It's wet, so brush thin layers and let each dry before the next. For structural joints and tiny props, stick with tacky glue.
How Do You Get Clean Bonds That Last?
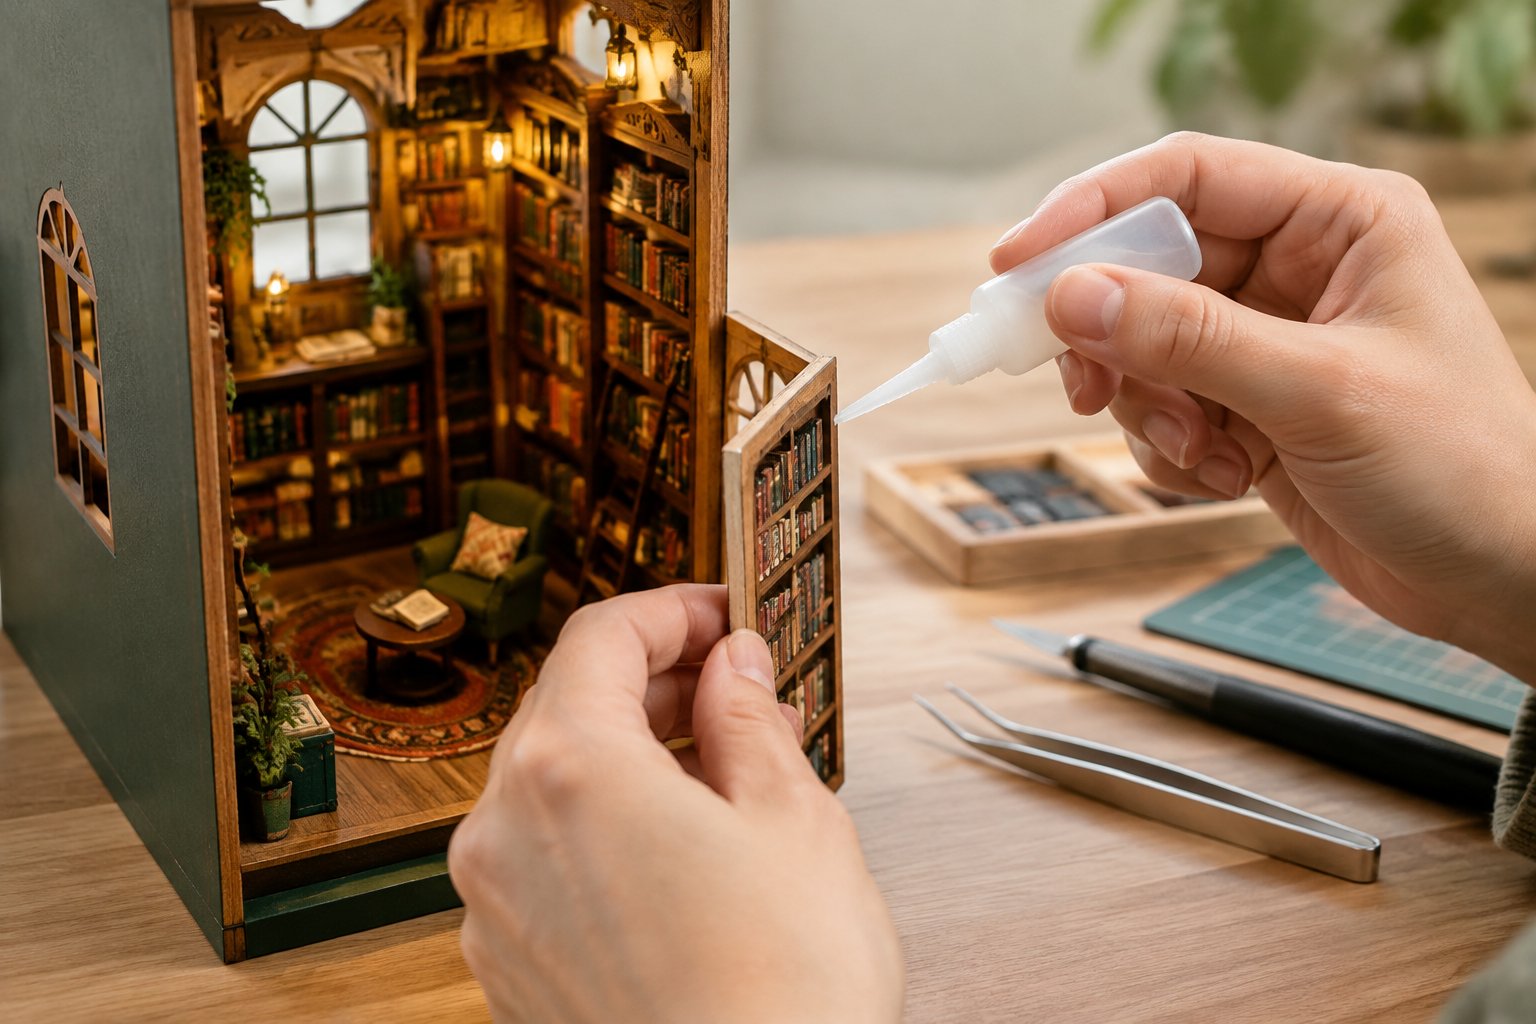
Clean, lasting bonds come from small glue dots, patient drying, and a build order that protects wiring and moving parts. The steps below keep squeeze-out, warping, and dead LEDs out of your finished scene.
Dry-Fit Parts and Apply a Small, Even Amount
Fit each piece without glue first. You'll catch a reversed wall or a printed side facing inward while it's still free to fix.
Then apply a dot about the size of a grain of rice, spread it with a toothpick, and press. More glue rarely means more strength; it means more cleanup. Hold the joint with a clip or painter's tape instead of thickening the bead. Interlocking designs like the Hall of Eternity book nook kit reward reading each stage before gluing, because one early chamber affects the next.
Separate Working Time, Handling Strength, and Full Cure
Glue labels describe three different stages:
- Working time (initial grab): how long you can slide a part into position.
- Handling strength (set): when the joint holds enough to keep building nearby.
- Full cure: when the adhesive reaches final strength.
A joint that feels dry to the touch may still be curing. Each brand and formula lists its own times, and temperature, humidity, and glue thickness all shift them, so follow the bottle you own. Avoid loading a structural seam until the label's cure time has passed.
Protect Moving Parts and Test LEDs Before Closing Panels
Keep glue away from hinges, rotating pieces, battery compartments, switches, and exposed LED contacts. Any of these might need to move or be serviced later.
Test the lights before a wall or roof hides the wiring, and again before final closing. If a wire needs securing, place a tiny dot on an insulated, hidden section, never on the bulb or contacts.
Prevent Warping, Remove Wet Squeeze-Out, and Handle Adhesives Safely
- Warping: thin layers on paper and thin wood; weight flat floors under a book while drying.
- Squeeze-out: wipe it with a barely damp cotton swab while wet. Dried tacky or wood glue on visible wood is hard to hide.
- Safety: work in a ventilated room, especially with solvent adhesives such as B-7000 or with CA. Keep super glue away from skin and eyes, cap bottles between uses, and supervise younger builders.
Prepare Your Kit Before You Start
A few minutes of preparation before you open the parts bag saves an evening of frustration. Many kits need glue and batteries bought separately, and several designs have one step worth planning around.
Buy Glue Separately and Check the Manual Before Assembly
Glue and batteries are often left out of kits because of air-shipping restrictions. I recommend quick-dry tacky craft glue and fine tweezers for any kit. Battery types vary: Baker Street uses AA batteries, while Tarot Divination Society needs two AAA batteries, so check each listing.
Gift buyers should tuck a bottle of tacky glue and the correct batteries into the box. Read the manual end to end before starting; the sequence tells you when to wire, when to glue, and when to stay patient. Compare difficulty and build estimates in my best book nook kits for adults guide.
Plan for Hearth Wiring, Notting Hill Frames, and Tarot's Rotating Wheel
- Kits with a lit hearth or fireplace: wire the hearth lighting before fitting the roof.
- Notting Hill Bookstore (level 3): 522 pieces, with window frames and shelf rows as the slow steps. Use tweezers and the smallest dots of tacky glue you can manage.
- Tarot Divination Society (level 3): keep glue well clear of the rotating Wheel of Fate so it still turns once cured. The maker recommends ages 14 and up.
These notes come from maker specifications and buyer reports; my ratings are research-based.
Ask for Replacement Parts
If a piece snaps, goes missing, or gets glued in the wrong place, contact the seller you bought the kit from with your order number, kit name, and the part number from the instruction booklet.
Start With Tacky Glue and Add Only What Your Kit Needs
Begin every kit with quick-dry tacky glue and a precision applicator, then buy extras only when a particular joint asks for them. Tacky glue handles paper, thin plywood, and trims while giving you time to straighten parts.
Add wood glue for bare, load-bearing wooden seams or a snapped tab. Reach for gel super glue, B-7000, or epoxy only for small hard-surface parts, and always choose a window adhesive labeled compatible with that plastic.
Dry-fit first, glue in dots, test LEDs before closing walls, and respect the label's cure time. For a gentle first build, see my best book nook kits for adults guide.
Frequently Asked Questions
Do book nook kits come with glue?
Some brands include glue, but many kits don't, because of air-shipping restrictions. Batteries are often excluded too, so buy quick-dry tacky glue and the battery type listed on your kit's page before you start.
Can I use school glue for a book nook?
School glue is a thin PVA and will hold paper and wood, though it runs more and grabs more slowly. Tacky glue is thicker, so it stays in place on small parts and adds less moisture to printed paper.
Is B-7000 the same as tacky glue?
No. B-7000 is a solvent-based multi-surface adhesive aimed at harder materials, while tacky glue is a water-based PVA for porous surfaces like wood and paper. They differ in odor, cleanup, and cure time, so follow each label separately.
Can I use silicone glue for book nook parts?
Silicone adhesives stay flexible and suit some non-porous surfaces, but they leave thick beads that are hard to hide at miniature scale. Use them only where a joint is hidden and the label confirms compatibility with your material.
Why are my book nook pieces not sticking?
The most common causes are too much glue, too little holding time, or a smooth surface that water-based PVA can't grip. Use a thin dot, clamp or tape the joint until it sets, and switch to a plastic- or metal-compatible adhesive for non-porous parts.